Last updated October 9, 2026





Free written scope consultation - allowances, timeline, and change-order rules on paper before a single trade is scheduled
Bathroom Remodeling Troubleshooting: Common Problems and How to Fix Them
Here’s the uncomfortable truth most remodelers won’t say out loud: tile failures in Los Angeles shower enclosures are almost never a tile problem. They’re a substrate or waterproofing membrane problem that got covered up before the first tile went on. By the time grout cracks appear months after the project closes, the real damage has already been eating through the wall cavity behind the tile. This guide walks you through the failure points you can catch during construction, the exact questions to ask when something looks wrong, and how to handle disputes without letting the project slide off the rails. If you’re mid-remodel or about to start one, this is the troubleshooting playbook for catching problems before they become five-figure repairs-or explore our Bathroom Remodeling services to get it done right from the start.
Quick Answer
Most bathroom remodel problems stem from three root causes: bad waterproofing, the wrong tile substrate, or a plumber and tile setter who never coordinated before the work began. For a deeper look at early warning indicators, read Bathroom Remodeling Warning Signs Every Homeowner Should Know. All three are invisible once the walls are closed, which is why you need to inspect what’s behind the tile before it goes up. The fix for every problem in this guide follows the same pattern: document it, ask for the spec, and get the correction in writing before the next trade covers the evidence.
Styles & brands we work with






Table of Contents
- How to Tell If a Shower Leak Is Grout, Waterproofing, or Plumbing
- The Tile Substrate Problem Nobody Shows You Until It Fails
- The Pan Liner Test: One Inspection That Catches Half of All Shower Failures
- What to Do When a Change Order Wasn’t Agreed to in Writing
- Non-Compliant Fixtures That Fail Final Inspection in Los Angeles
- Mid-Project Checkpoints to Demand Before Tile Goes Down
- Questions to Ask a Contractor When Something Looks Wrong (Without Blowing Up the Job)
- How to Document and Dispute a Problem During Construction
How to Tell If a Shower Leak Is Grout, Waterproofing, or Plumbing
When water shows up on the ceiling below a second-floor bathroom, most homeowners blame the tile. That’s rarely where it starts. Here’s how to separate the three most common leak sources and who should own each fix.
Grout failure shows up as hairline cracks along grout lines, usually long after the project is finished. Grout is not waterproof. It’s a wear surface. If water is getting through grout alone and causing damage, the waterproofing layer behind the tile was never there or was installed incorrectly. A tile setter who tells you “the grout will handle it” is telling you they skipped a step. Grout failures are cosmetic at first but point to a deeper waterproofing problem. The tile contractor owns this fix.
Waterproofing failure is what happens when the membrane behind the tile is missing, punctured, or not sealed at the seams and corners. In Los Angeles, we see this most often in older homes that were remodeled before modern membrane standards took hold, or in flips where the tile was replaced but the wall behind it was never opened. You’ll see water stains on the ceiling below, soft drywall near the shower base, or a musty smell that never quite goes away. This is the tile contractor’s responsibility, and the fix means removing tile down to the studs. No amount of caulking fixes a failed membrane.
Plumbing fitting failure is the third possibility, and it’s why coordination between trades matters. A shower valve that weeps behind the wall, a drain assembly that was cross-threaded, or a supply line that wasn’t pressure-tested before the tile went up can all produce the same ceiling stain as a waterproofing failure. The telltale sign: the leak is constant or follows shower use regardless of where water sprays. The plumber owns this fix. A good general contractor runs a pressure test on all supply lines before the walls close, precisely so you never have to guess which trade caused the problem.
If you’re mid-project and already see water where it shouldn’t be, call your contractor immediately and ask for a pressure test and a visual inspection before anyone closes the wall. If the project is finished and a leak appears, document the stain, note when it appears (during showers, after rain, constantly), and call the contractor who did the work. In our experience as a general contractor in Los Angeles, the source is almost always identifiable within an hour of opening the wall, but you have to open it. Waiting turns a $500 fix into a $5,000 mold and framing repair.
The Tile Substrate Problem Nobody Shows You Until It Fails
Tile is only as good as what it’s stuck to. In wet areas like showers, the substrate choice determines whether your tile survives five years or thirty. Here’s what should be behind your tile and what should never be there.
Drywall in a wet zone is a red flag. Standard drywall has no business behind tile in a shower, around a tub surround, or on a bathroom floor in any Los Angeles home. It wicks moisture, loses structural integrity, and gives mold a perfect food source. If you see green board (the moisture-resistant drywall with the green paper face), that’s slightly better than standard drywall but still not appropriate for a shower wall. The correct substrates are cement backer board, fiber cement board, or a foam backer system like Schluter Kerdi-board. Any of those is fine. Drywall is not.
Flex is the silent tile killer. Tile doesn’t bend. If the substrate flexes under foot traffic or wall movement, the tile eventually cracks, pops, or loses its bond. In Los Angeles, where a lot of the housing stock is older, we routinely see bath floors that were tiled directly over plank subfloor with no underlayment. The fix during construction is a properly layered floor system: subfloor, underlayment, then tile. After the fact, the fix is a full tear-out. This is why the mid-project floor check matters so much. You want to see the layers before they disappear under tile.
Mastic in a shower pan or wet wall is a failure waiting to happen. Mastic is a pre-mixed adhesive that re-emulsifies when it gets wet. It should never be used in continuously wet areas. Thinset mortar is the correct choice for shower pans and wet walls. If you walk into your Los Angeles bathroom job site and see a bucket of mastic sitting next to a shower under construction, ask about it. The right answer is “that’s for the dry areas.” Any other answer is a problem.
The substrate is the single most important thing you’ll never see once the job is finished. That’s exactly why you need to check it while it’s exposed. A ten-minute walkthrough before the tile goes up beats a full remodel two years later.
The Pan Liner Test: One Inspection That Catches Half of All Shower Failures
A shower pan is a waterproof vessel under your tile. Before the tile goes on, that vessel can be tested. If your contractor skips this test, they’re asking you to trust that a hidden layer works. Here’s how the test works and why you should insist on it.
- Inspect the liner before it’s covered. The pan liner (or liquid membrane system) should be fully visible, with no punctures, no tears, and proper overlap at the seams. Corners should be reinforced. The liner should extend up the walls at least 6 inches, and there should be a pre-slope under the liner so water actually moves toward the drain. A flat pan liner on a flat floor means water pools and eventually finds its way through.
- Plug the drain and fill the pan with water. The contractor plugs the drain, fills the shower pan with water to just below the curb, and marks the water level with a pencil line or tape.
- Wait 24 hours. The water level should not drop. If it does, the liner has a leak, and now is the time to find it. Once tile goes down, finding that same leak means tearing out the tile.
- Check the ceiling below. If the bathroom is on an upper floor, inspect the ceiling underneath for any sign of moisture during and after the test. A dry ceiling below a full pan is the confirmation you want.
This is not an optional luxury step. It’s the single most effective inspection available in a bathroom remodel, and in Los Angeles, where multi-story homes are common, the cost of a failed pan shows up as a brown stain on a downstairs ceiling. A contractor who pushes back on a pan liner test is telling you they don’t want you to see what’s under the tile. That’s not a personality quirk. That’s a red flag. At Sawyer Remodeling, every shower gets a pan liner test before tile, and we photo-document it as part of The Relay Visibility Guarantee. For help selecting a contractor you can trust, see Choosing the Right Construction Brand: A Buyer’s Guide for Los Angeles. You should expect the same from any contractor you hire.
What to Do When a Change Order Wasn’t Agreed to in Writing
Here’s a situation we hear about constantly from Los Angeles homeowners: the contractor discovered rotted framing, moved a wall, upgraded a valve, and now there’s a charge on the invoice that was never approved. What now?
Step one: ask for the written change order. In California, contractors are required to provide a written change order for any work that deviates from the signed contract, including any increase in price. If you didn’t sign it, the contractor has a problem, not you. Ask for the document. If it doesn’t exist, ask them to produce one now, with a clear explanation of what changed, why, and what the new price is.
Step two: don’t pay for work you didn’t approve. You are not obligated to pay for unauthorized change orders in California. Contractors know this. Most disputes resolve quickly once the homeowner calmly points out that the work was never authorized in writing. The key word is calmly. A contractor who feels cornered gets defensive. A contractor who understands you know your rights gets reasonable.
Step three: negotiate the value, not the legitimacy. If the work was genuinely necessary (rotten framing behind the shower, a valve that failed and needed replacement), you received value. The dispute is about price transparency, not the work itself. A fair resolution is to review the actual material and labor costs, compare them to the original contract’s rates, and settle on a number you can both live with. The goal is to finish the project, not win an argument.
Step four: document everything going forward. From this point on, every conversation about scope and price should be confirmed in writing. A quick email or text: “Confirming our conversation: we agreed to move the shower valve to the north wall for $450, correct?” takes ten seconds and protects both sides. If your contractor won’t put things in writing on a bathroom remodeling project in Los Angeles, that’s a signal to slow down and reassess.
The written price before work starts is standard at Sawyer Remodeling. It’s not an upgrade or a special request. Every project runs on The Relay Visibility Guarantee, which means the number you approved is the number on the invoice. If something changes mid-project, it gets a written change order with your signature before the work happens. That’s how a remodel should run.
Non-Compliant Fixtures That Fail Final Inspection in Los Angeles
Los Angeles plumbing codes are specific about what can and can’t be installed in a bathroom. When a contractor installs fixtures that don’t meet code, the final inspection fails, and the project stalls until the fixtures are replaced. Here are the non-compliant fixtures we see most often and what to do about them.
Water-sense fixtures are no longer optional. California has some of the strictest water efficiency standards in the country. Showerheads must be 1.8 gallons per minute or less. Faucets must be 1.2 GPM or less. If your contractor installs a beautiful high-flow showerhead that doesn’t meet the standard, final inspection fails and the fixture has to come out. This happens more than you’d think, especially when homeowners buy their own fixtures online without checking the flow rate. Check the spec sheet before you buy. If your contractor is providing fixtures, ask for the model numbers and verify them.
GFCI protection in the right places. Every outlet in a bathroom needs ground-fault circuit interrupter (GFCI) protection. It’s not enough to have a GFCI breaker somewhere in the panel. The specific circuits serving bathroom countertops and wet zones need it. Inspectors check every one. A non-compliant outlet is a fast fail.
Ventilation that actually vents. Bathroom exhaust fans in Los Angeles must vent to the exterior, not into an attic or crawlspace. This is one of the most common inspection failures in older homes where a previous remodel simply let the fan blow into the attic. If you’re doing a full remodel and the fan isn’t properly ducted, now is the time to fix it. The fix during construction is a few hundred dollars. After inspection, it’s a stop-work adjustment.
What to do when a non-compliant fixture fails inspection: First, get the inspection report in writing, listing the specific code sections failed. Second, ask your contractor for the corrected fixture list and a schedule for replacement. Third, confirm who pays. If the contractor supplied the fixtures, the replacement is on them. If you supplied them, you own the cost. Either way, the fix should be quick. A competent Los Angeles contractor knows local code. If yours doesn’t, the inspection failure is a warning sign about everything else you can’t see.
Mid-Project Checkpoints to Demand Before Tile Goes Down
There’s a specific moment in every bathroom remodel when everything that matters is still visible: after the rough-in is complete but before the walls are closed. That’s when you walk the job with your contractor and check the following. If you only do one inspection during the entire project, this is the one.
- Water supply lines are pressure-tested. The plumber should charge the system with air or water and verify no pressure drop over a set period. If they haven’t tested it, ask them to. Finding a leaky joint now costs almost nothing. Finding it after tile goes up costs a tile tear-out.
- The shower valve is set at the right depth. The valve body needs to sit at a specific depth behind the finished tile. Too deep and the trim plate won’t fit. Too shallow and it sticks out. This is a five-minute check that prevents a world of frustration later.
- The substrate is correct. Cement board, fiber cement, or foam backer. Not drywall. Not green board. Check the wet zone. Check the shower floor. Confirm the seams are reinforced with alkaline-resistant mesh tape and thinset.
- The waterproofing membrane is continuous. If they’re using a liquid membrane, it should be applied at the right thickness (a mil gauge shows this) and extend far enough up the walls and out onto the bathroom floor. If they’re using a sheet membrane like Schluter Kerdi, the seams should overlap by at least 2 inches and corners should have pre-formed or folded corners. No gaps. No shortcuts.
- The pan liner is visible and undamaged. This connects directly to the pan liner test section above. If the liner has nails through it below the curb line, that’s a fail. If it’s puckered or torn, it gets replaced before tile goes down.
- Blocking is in for grab bars and accessories. If you plan to install grab bars, towel bars, or a glass shower enclosure, the blocking needs to be in the wall now. Adding it after tile means opening the wall or settling for anchors in tile, which fail under load. This is a small step that matters a lot, especially in Los Angeles homes where bathroom wall framing can be irregular.
These checkpoints apply to every shower and tub surround. They’re the difference between a bathroom that lasts thirty years and one that starts staining ceilings in year two. At Sawyer Remodeling, we walk every homeowner through these checks and photo-document each one before the walls close. That’s part of the before-and-after photo updates under The Relay Visibility Guarantee. You should expect the same transparency from any contractor you hire.
Questions to Ask a Contractor When Something Looks Wrong (Without Blowing Up the Job)
You’re standing in your Los Angeles bathroom, mid-remodel, and something doesn’t look right. Maybe there’s drywall where you expected backer board. Maybe the shower pan doesn’t look sloped. Maybe there’s a bucket of mastic next to the shower. You don’t want to insult the contractor, but you need answers. Here’s how to ask.
Start with curiosity, not accusation. “Hey, I noticed this and I’m not an expert, so help me understand what I’m looking at.” That opening gives the contractor room to explain without feeling attacked. Most of the time, what looks wrong to a homeowner isn’t actually wrong. It’s just an unfamiliar part of the process. Starting curious keeps the relationship intact.
Ask for the spec, not an opinion. “What’s the manufacturer’s recommended substrate for this shower system?” is a much better question than “why are you doing it that way?” It takes the conversation out of personal preference and into verifiable standards. Every legitimate product has installation specs. A contractor who knows their trade can quote theirs.
Request documentation when it matters. “Can you show me the pressure test result?” or “Can we do the pan liner test before tile?” are reasonable requests that any professional will welcome. If the response is resistance or irritation, that’s information. A contractor who doesn’t want to show you their work is either hiding something or doesn’t actually do the work to the standard they claim.
Escalate through the right channel. If you’re working with a general contractor and the tile setter is doing something that concerns you, talk to the general contractor, not the trade. The GC owns the project and should be the one correcting course. Going around them creates friction and makes it harder to get a straight answer later.
If you hear defensiveness, deflection, or “we always do it this way” without any spec to back it up, that’s a sign to slow the project down and get a third-party opinion. In Los Angeles, you can hire an independent inspector or a consulting contractor to walk the job for a few hundred dollars. That’s cheap insurance against a shower that leaks in two years. A good contractor won’t resent the extra set of eyes. They’ll welcome it, because they know their work holds up to scrutiny.
How to Document and Dispute a Problem During Construction
Problems during a remodel are normal. The difference between a problem that gets fixed and a problem that becomes a legal dispute usually comes down to documentation. Here’s the process we recommend to homeowners in Los Angeles who need to push back on something they’re seeing.
- Take photos immediately. Time-stamped photos of the issue, from multiple angles, with context. Show the surrounding area so there’s no question about what you’re looking at. A photo of a drywall seam next to a shower is meaningless without context. A photo of the entire shower wall showing drywall where tile will go is everything.
- Put the concern in writing the same day. An email or text to the contractor: “During my walkthrough today I noticed [specific issue]. Can you explain what I’m looking at and what the plan is to address it?” The timestamp matters. It shows you flagged the issue before the work continued.
- Reference the contract and applicable code. If the issue relates to something specified in the contract (substrate type, fixture model, waterproofing method), quote the contract language. If it relates to code (ventilation, GFCI, water-sense fixtures), reference the California Plumbing Code section. You don’t need to be a lawyer. You just need to show you know what was agreed and what’s required.
- If the response is inadequate, pause the work. You have the right to stop work if you believe the contractor is doing something that violates the contract or the law. In California, the contractor is entitled to be paid for work completed to that point, but you are not obligated to let them continue if they’re not honoring the agreement. Pausing work is a big step, and it should come after the other steps, but it’s an option.
- Involve a third party if necessary. The California Contractors State License Board (CSLB) is the governing body for contractor disputes. You can also hire an independent inspector to document the issue in writing. If things escalate, you may need an attorney. Most disputes don’t get that far if the documentation is solid and the homeowner stays calm.
This process works because it takes the disagreement out of the realm of personality and into the realm of facts. Photos, timestamps, contract language, and code citations are facts. A contractor who knows you’re documenting carefully is a contractor who fixes the problem quickly. The home renovation process in Los Angeles runs smoother when everyone knows the rules. As Luca Romano likes to say around the office: “The wall already has a story. Our job is to make sure it’s a good one, and that means documenting what goes in before it disappears.”
Common Mistakes to Avoid
- Letting tile go up without a pan liner test. This is the single most common skip in budget remodels, and it’s the one that turns into a ceiling stain later. Insist on the 24-hour fill test. If your contractor won’t do it, hire someone who will.
- Trusting grout as a waterproofing layer. Grout is not waterproof. If your tile setter tells you otherwise, that’s not a difference of opinion, that’s a failure of basic trade knowledge. The waterproofing happens behind the tile, and it’s either done or it isn’t.
- Skipping the mid-project walkthrough. The moment right before walls close is the only time you’ll ever see the plumbing, blocking, substrate, and waterproofing in their final installed form. If you miss it, you’re buying blind on the most important layer of the project.
- Accepting verbal change orders. In Los Angeles, verbal agreements about price changes are worth the paper they’re written on. Always get change orders in writing before the work happens. It protects both you and the contractor.
- Buying fixtures without checking California code. Showerheads, faucets, and toilets all have specific flow-rate requirements in this state. A fixture that’s legal in Oregon might not pass inspection in Los Angeles. Check the spec sheet before you click buy.
- Ignoring an inspection failure as a minor hiccup. When a contractor installs something that fails inspection, that’s a data point about their attention to detail. One small failure is a conversation. Repeated failures are a pattern, and the next one might be hidden behind a wall forever.
See the difference
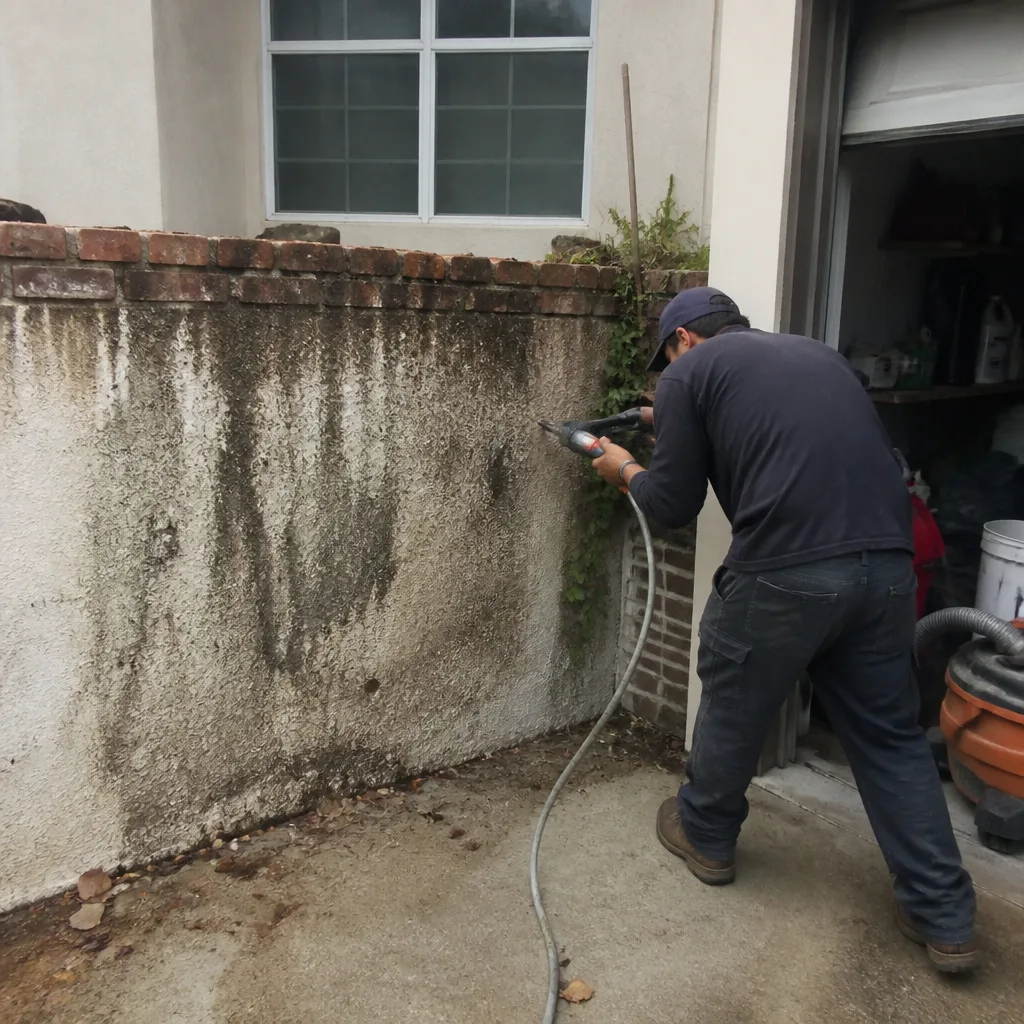 Before
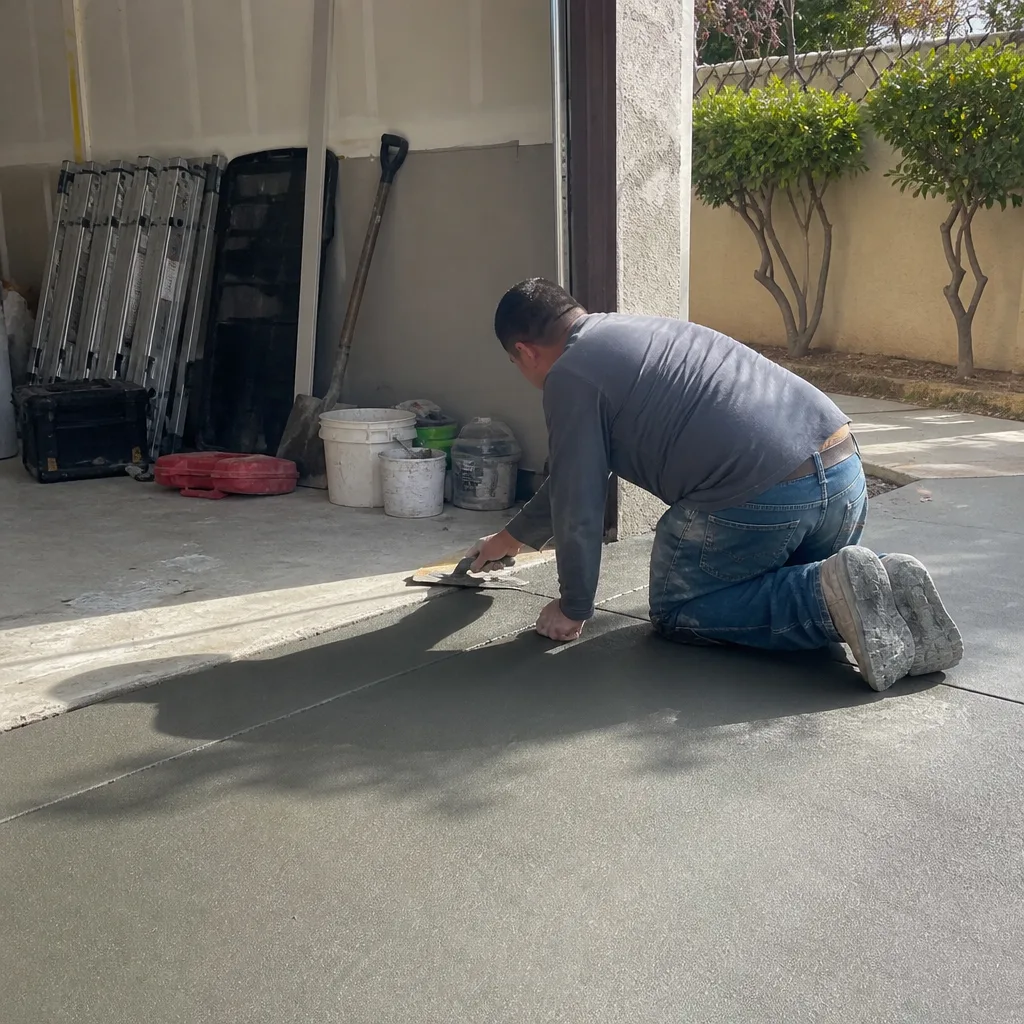 After
After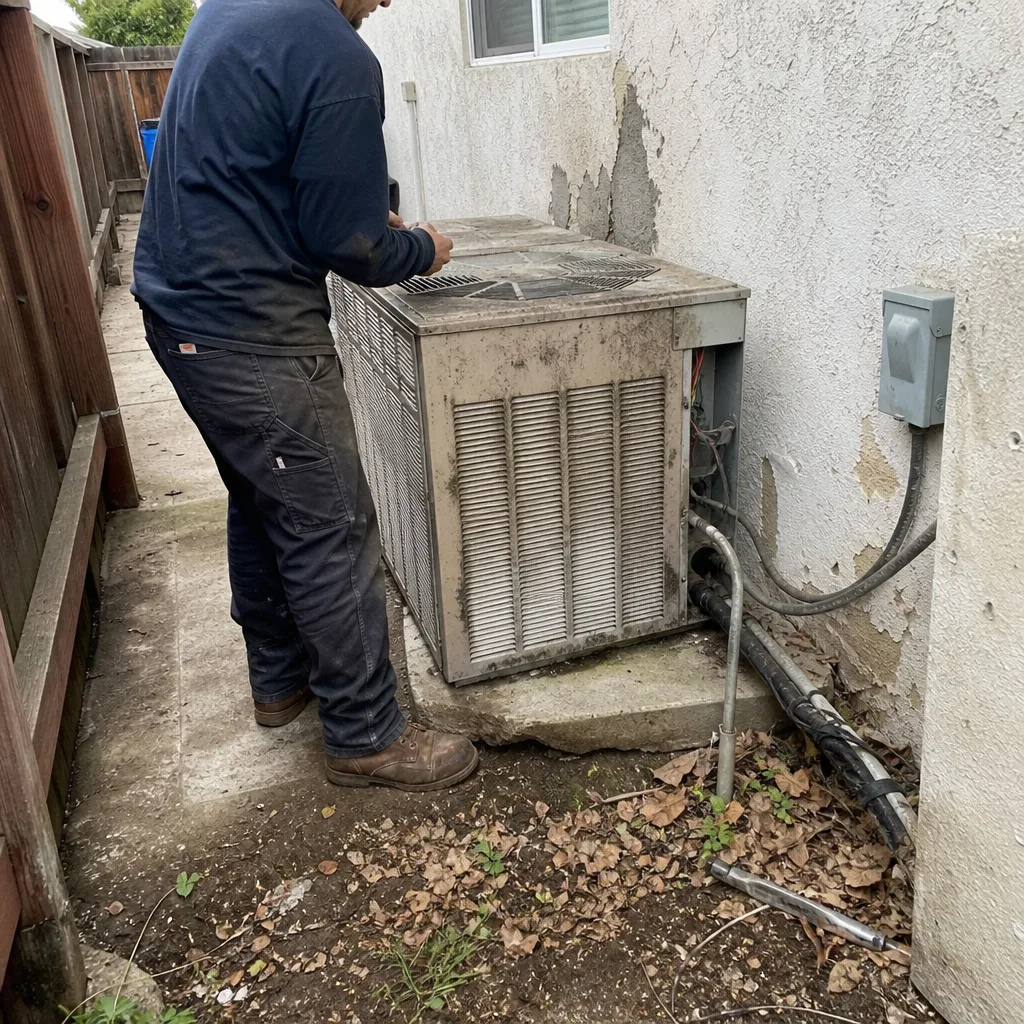 Before
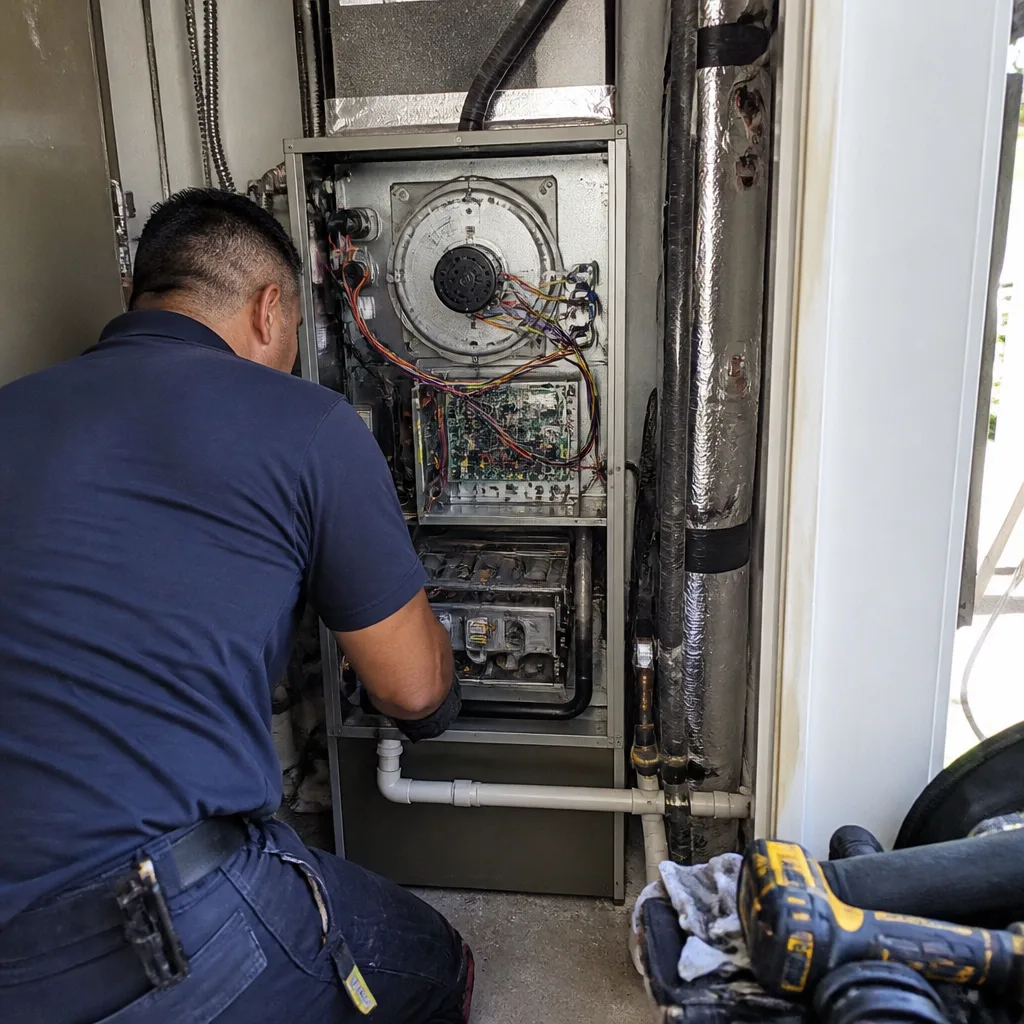 After
After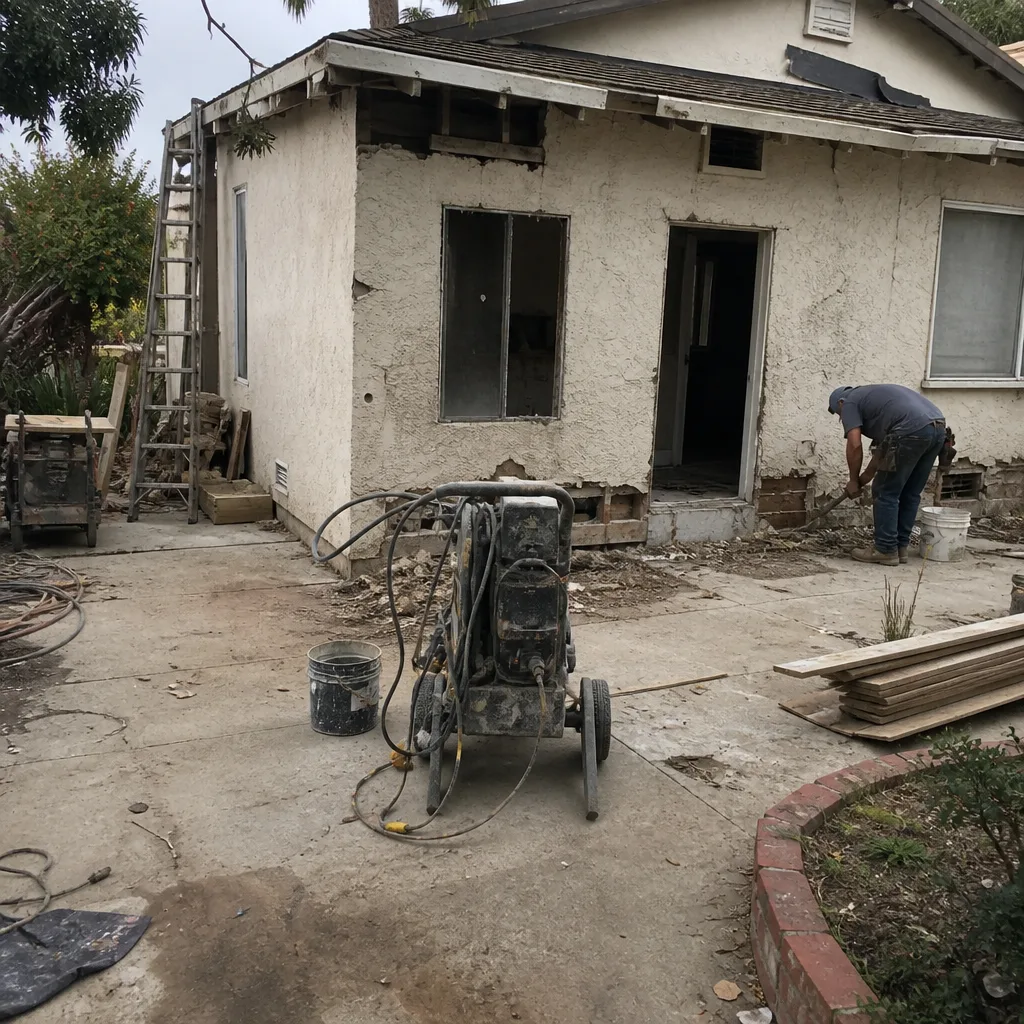 Before
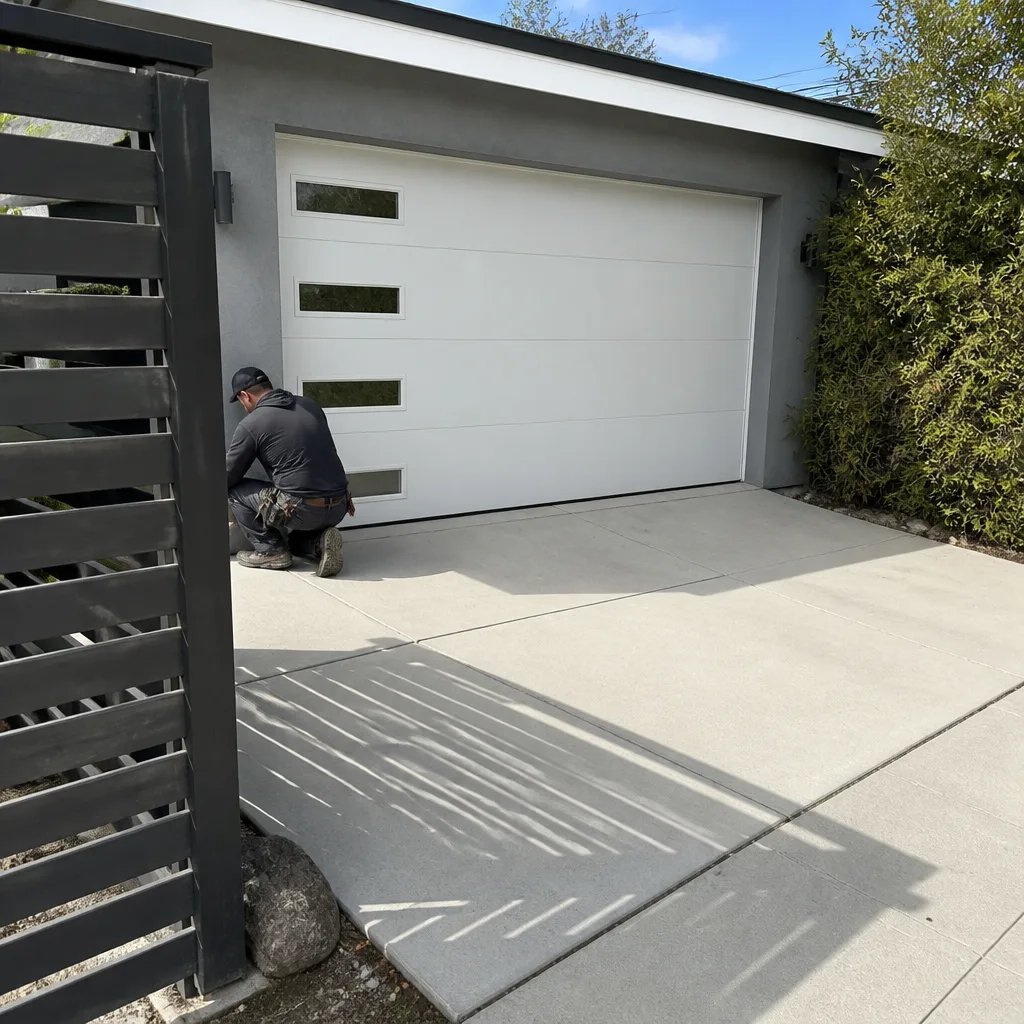 After
AfterWhen to Call a Professional
A bathroom remodel is not a good place to learn waterproofing by trial and error. If you’re seeing water stains, hearing drips inside a wall, noticing tiles that sound hollow when tapped, or dealing with a contractor who won’t document their work, stop and call someone who does this for a living. The situations that call for a professional are exactly the ones where waiting makes the problem more expensive: a failed pan liner, a leak that’s already showing on a ceiling, a shower valve that weeps, or a substrate that was installed wrong. These are not weekend fixes. They’re tear-out-and-redo territory. Sawyer Remodeling offers free estimates in Los Angeles, call (254) 272-5876. We’ll walk the job, tell you what we see, and give you a written price before any work starts. No obligation, no pressure, no mystery.
Frequently Asked Questions

Fixing a leaking shower pan in Los Angeles typically costs $1,800 to $4,500 when the fix is contained to the pan area, but full tear-outs that involve the surrounding tile and subfloor can run $6,000 to $12,000 or more. The wide range depends on how far the water traveled before you caught it, what type of waterproofing system was used originally, and whether mold remediation is required. The cheapest fix is always the one you catch during construction with a pan liner test. Call (254) 272-5876 for a free estimate on your specific situation.
No. Regrouting fixes the surface symptom but does nothing for the waterproofing layer behind the tile. If water has been getting behind the tile, regrouting just traps it in there, which makes the problem worse over time. The only real fix for a shower with a failed waterproofing membrane is removing the tile, repairing or replacing the membrane, and re-tiling. Anything short of that is temporary. Call (254) 272-5876 to have us look at it, estimates are free.
A full bathroom remodel in Los Angeles typically takes 3 to 6 weeks from demo to final inspection, depending on the scope, whether structural work is required, and how quickly materials arrive. A tub-to-shower conversion usually runs 2 to 3 weeks. A full gut remodel with a new footprint, plumbing relocation, and custom tile can push 6 to 8 weeks. The best way to get a reliable timeline for your specific project is to ask for a written schedule before work starts. We give every homeowner a project timeline as part of The Relay Visibility Guarantee.
The most common bathroom remodel problem in Los Angeles homes is water damage that was hidden before the remodel started and only discovered after demo begins. Rotted studs, failed shower pans, and mold behind old tile are routine finds in homes built before the 1980s. The key is having a written change order process for when hidden damage is found, so the fix doesn’t become an argument. Call (254) 272-5876 to talk through what we typically find in your area.
Yes, you should be present for the pan liner test if at all possible, or at minimum insist on time-stamped photos of the filled pan and the water level mark. This inspection happens 24 hours after the pan is filled, so you don’t need to stand there the whole time. You just need to see the evidence: the water level mark unchanged, the ceiling below dry, and the liner intact before it’s covered. A contractor who photos and documents this process for you is doing it right.
We work with a range of premium brands and can recommend specific lines based on your budget and style, including fixtures from Kohler and Moen and surfaces from Cambria and Caesarstone. The brand matters less than the installation method behind it. A $2-per-square-foot tile installed over a properly waterproofed substrate will outlast a $20-per-square-foot tile installed over drywall. If you want material recommendations for your Los Angeles remodel, call (254) 272-5876 and we’ll walk you through what holds up best in this climate.
The Bottom Line
Bathroom remodel problems are almost never about the tile. They’re about the substrate, the waterproofing, and the coordination between trades, and all three are invisible once the walls close. The homeowner who does one thing differently, the mid-project walkthrough with documentation, catches most failures before they become disasters. The homeowner who gets every change in writing avoids the invoice disputes that destroy trust. And the homeowner who demands the pan liner test before tile goes down buys themselves a shower that lasts decades instead of five years. That’s the whole game. Inspect what’s visible, document what’s agreed, and never let the wall close on an untested system. If you’re planning a bathroom remodel in Los Angeles, get a contractor who shows you the layers before they disappear. Call (254) 272-5876 for a free estimate.
Written by Luca Romano, Owner at Sawyer Remodeling, serving Los Angeles since 2005.