Last updated October 9, 2026


Free written scope consultation - allowances, timeline, and change-order rules on paper before a single trade is scheduled
DIY vs Professional Home Renovation: What’s Safe to Do Yourself
Most DIY renovation disasters don’t happen on day one. They happen two years later, when a shower pan that looked perfectly tiled starts leaking into the subfloor, or when an unpermitted wall removal shows up on a title report and stalls a sale. In Los Angeles, where homes built in the 1920s sit next to homes built in the 1980s and neither was designed for modern plumbing loads, the gap between “I can watch a YouTube video and figure this out” and “this just became a five-figure fix” is wider than most homeowners realize. This Home Renovation guide walks through what’s genuinely safe to tackle yourself, what requires research and permits, and what should never leave the hands of a licensed contractor.
Quick Answer
The renovations genuinely safe for most homeowners to DIY are cosmetic and non-structural: painting, cabinet hardware, light fixture swaps, floating floors, and basic trim work. Anything that touches waterproofing, load-bearing walls, plumbing drain lines, electrical panels, or requires a building permit in Los Angeles belongs with a licensed professional, because the cost of fixing a failed DIY job in those categories typically runs two to three times the cost of hiring it out correctly the first time.
Styles & brands we work with

Table of Contents
- The Risk-Tier System: How to Sort Every Renovation Project
- Zero-Risk DIY: Cosmetic Work Any Homeowner Can Handle
- Moderate-Risk DIY: Research-Heavy Projects With Real Consequences
- Non-Negotiable Professional Work: Where Amateurs Should Not Go
- The Waterproofing Category: Why It Looks Simple and Fails Expensively
- California Permits: What DIY Work Still Requires an Inspection
- The Real Cost Calculation: Tools, Time, and the Fix-It Tax
- The Remediation Question: What Failure Actually Costs
The Risk-Tier System: How to Sort Every Renovation Project
In our experience running Home Renovation in Los Angeles projects for nearly two decades, the most useful way to evaluate a DIY project is through a simple risk-tier lens. It’s not about whether you can physically do the work. It’s about what happens when the work fails, and how much finished material has to be torn out to fix it.
Here’s the framework we use with clients who ask us where to draw the line:
- Zero-risk DIY: The failure mode is cosmetic only. You see the mistake immediately, you fix it with paint or a replacement part, and nothing behind the surface is damaged. Examples: painting, swapping cabinet hardware, replacing a light fixture on an existing junction box.
- Moderate-risk DIY: The failure mode can cause damage, but the damage is slow to develop and relatively contained. You need real research, the right tools, and patience. Examples: floating floor installation, basic tile backsplash, replacing a faucet.
- Non-negotiable professional work: The failure mode is hidden, structural, dangerous, or expensive enough that the remediation cost dwarfs the original job. Examples: shower waterproofing, electrical panel work, plumbing drain lines, load-bearing wall removal.
The distinction matters because the renovation marketplace in Los Angeles is full of homes where someone took a moderate-risk project and treated it like a zero-risk project. The result is always the same: a job that looks finished for eighteen months, then fails in a way that requires demolition. That’s the line between saving money and spending twice.
Zero-Risk DIY: Cosmetic Work Any Homeowner Can Handle
These are the projects where a mistake costs you a trip to the hardware store, not a call to a remediation company. If you live in Silver Lake, Echo Park, or the Valley and you’re renting tools instead of buying them, this is where your DIY dollar goes furthest.
Interior painting. The single highest-ROI DIY project in any Los Angeles home. A gallon of Benjamin Moore or Sherwin-Williams runs $60 to $80, and a 400-square-foot room needs two gallons plus supplies. You’ll spend $200 and a weekend. A professional paint job for the same room runs $800 to $1,200. The failure mode is streaks, drips, and uneven cut-in lines, all of which are visible immediately and fixable with another coat.
Cabinet hardware replacement. If your kitchen cabinets are structurally sound but the knobs and pulls are dated, swapping them takes a drill, a template, and an afternoon. The risk is drilling a hole slightly off-center, which is hidden behind the new hardware plate. Total cost: $40 to $150 depending on the finish.
Light fixture swaps on existing junction boxes. If the electrical box is already there and the wiring is intact, replacing a dining room pendant or hallway flush-mount is straightforward. Turn off the breaker, match the wire colors, and mount the new fixture. The risk is minimal because you’re not running new wire or touching the panel. If the wiring looks old, frayed, or aluminum-based, stop and call an electrician through a General Contractor in Los Angeles who can coordinate the work.
Trim and baseboard installation. Crown molding and baseboards are finish carpentry, and the failure mode is visible gaps at the miters. A tube of caulk and some paint fixes almost any mistake. Material costs for a 12×12 bedroom run $100 to $300, and you’ll learn a skill that transfers to every room in the house.
What all of these have in common: no water, no structural load, no hidden electrical work, no permit required. The risk ceiling is the cost of the materials you just bought, and nothing more.
Moderate-Risk DIY: Research-Heavy Projects With Real Consequences
These projects are doable for a careful homeowner with the right research, but they carry a meaningful failure mode. The damage won’t necessarily show up in week one, and when it shows up, you won’t be able to fix it with caulk.
Floating floor installation (LVP, laminate, engineered wood). Click-lock flooring is genuinely beginner-friendly, and the material costs for a 200-square-foot living room run $600 to $1,200 in Los Angeles flooring stores. But the failure mode is subfloor moisture and expansion gaps. If you install over concrete without a moisture barrier, or you don’t leave the required expansion gap at the walls, the floor buckles within a season. In Los Angeles, where winter humidity swings from 20% to 80%, that expansion gap isn’t optional. It’s a physics requirement. Research time: 10 to 15 hours of YouTube plus manufacturer installation PDFs.
Basic tile backsplash in a kitchen. A backsplash is the forgiving end of tiling because the failure mode is aesthetic. If your tile spacing is slightly off, grout lines hide a lot of sins. Material cost for a standard 30-square-foot backsplash runs $200 to $400. The key research points: use tile spacers, check for level on the first row, and use polymer-modified thin-set on any surface that isn’t drywall. This is not the place to learn waterproofing, but it is the place to learn how thin-set behaves.
Faucet replacement. Swapping a bathroom or kitchen faucet on existing supply lines and an existing sink is a Saturday morning job. The risk is a slow drip at the supply connection that you don’t notice for a month and rots the cabinet base. Research time is minimal: shut off the angle stops, loosen the supply nuts, remove the basin nuts, lift. If the angle stops are seized, which happens in older Los Angeles homes with galvanized plumbing, stop and call a plumber rather than forcing them.
Interior door replacement. Pre-hung interior doors with a clear installation video can be done by a patient homeowner. The risk is a door that swings shut on its own because the jamb wasn’t shimmed plumb. It’s a functional annoyance, not a water leak. Material cost: $150 to $400 per door depending on the style.
The common thread in moderate-risk work: the failure mode exists, but it’s slow enough to catch and contained enough to fix (our General Contractor Maintenance Schedule: What to Do and When covers how to spot these early). That’s the threshold. If you can describe the worst-case failure and say, “Okay, that’s a $500 fix and a weekend,” the project is moderate-risk. If the worst case involves mold, structural movement, or insurance, it belongs in the next category.
Non-Negotiable Professional Work: Where Amateurs Should Not Go
There’s a short list of renovation categories where the professional requirement isn’t about gatekeeping. It’s about the fact that the failure mode is hidden until it’s catastrophic, and the remediation cost starts where most renovation budgets end.
Anything touching plumbing drain lines. Supply lines leak where you can see them. Drain lines leak inside walls, under slabs, and into framing cavities, and you won’t know until the baseboard stains or the ceiling below starts sagging. Moving a drain line, adding a bathroom to an existing drain stack, or running a new waste line in a Los Angeles home built before 1980 means dealing with cast iron, galvanized steel, or ABS that was installed under different codes. Get it wrong and you’re opening walls, floors, or concrete in a finished room.
Electrical panel work. This is the category where DIY crosses from expensive to lethal. Adding a circuit, replacing a panel, upgrading service from 100-amp to 200-amp, or running a new line for an EV charger means working with live bus bars, load calculations, and permit inspections. A mistake doesn’t just fail; it arcs. In Los Angeles, where many mid-century homes still run on 100-amp panels that were never designed for modern loads, the failure mode of amateur panel work is a house fire that the insurance company may not cover because the work was unpermitted.
Load-bearing wall removal. Opening up a kitchen and living room is the most popular renovation in Los Angeles right now, and it’s the one where a DIY mistake carries the highest structural cost. A load-bearing wall isn’t just framing; it’s transferring roof and floor loads down to the foundation. Remove it without a properly engineered beam, and the ceiling sags, the roof line shifts, cracks appear in the drywall, and the repair cost runs into the tens of thousands. This requires a structural engineer’s stamp and a permit. No amount of YouTube research replaces that.
Shower and bathroom waterproofing. We treat this separately below because it’s the category where the gap between appearance and performance is widest, and where DIY homeowners lose the most money in Los Angeles.
The Waterproofing Category: Why It Looks Simple and Fails Expensively
Of all the renovation categories we see in our Bathroom Remodeling in Los Angeles work, waterproofing is the one where DIY confidence is highest and the time-to-failure is longest. Here’s why that combination is so dangerous.
A shower looks like tile, grout, and caulk. The person who has never waterproofed a shower sees a YouTube video of someone tiling a shower in 20 minutes and thinks, “I can do that.” What the video doesn’t show is the waterproofing system behind the tile: the Schluter edge trim (the metal strip that waterproofs where your tile meets the floor), the membrane behind the substrate, the slope of the shower pan, the weep holes in the drain assembly, the corner reinforcements, and the cure time between layers.
Grout is not waterproof. Tile is not waterproof. The waterproof layer is what’s behind them, and the failure mode of a bad waterproofing job is the slowest-moving disaster in residential construction. Water seeps through, sits against the framing, and feeds mold for eighteen to thirty months before anyone notices. By the time the homeowner sees a water stain on the ceiling below or smells the must in the wall, the mold has reached the studs, the subfloor is rotting, and the fix is a full tear-out of the shower, the subfloor, and possibly the framing below.
Here’s the honest cost breakdown for a failed DIY shower waterproofing job in Los Angeles:
- Original DIY shower remodel (materials, tile, fixtures, your time): $2,500 to $4,500
- Tear-out of failed shower, including tile, backer board, and subfloor: $2,000 to $4,000
- Mold remediation if the framing is affected: $1,500 to $5,000 depending on extent
- Rebuild of shower with proper waterproofing by a licensed contractor: $8,000 to $15,000
Total cost of that “saving money” decision: somewhere between $14,000 and $28,000, most of which could have been avoided by hiring a contractor who waterproofs showers every week. The waterproofing category is the single clearest line between DIY and professional work in renovation, and we have never seen a homeowner happy they crossed it.
California Permits: What DIY Work Still Requires an Inspection
Los Angeles has some of the strictest building codes in the country, and the city’s Department of Building and Safety (LADBS) does not exempt DIY work from permitting just because a homeowner is doing the labor. Here’s the reality that catches homeowners at the worst possible moment: the moment they sell, refinance, or file an insurance claim.
What requires a permit in Los Angeles, even for DIY:
- Any structural change: wall removal, window enlargement, roof framing changes, foundation work, retaining walls over 3 feet.
- Any plumbing beyond fixture replacement: moving a drain, adding a bathroom, re-piping a supply line, replacing a water heater.
- Any electrical work beyond fixture swaps: new circuits, panel changes, rewiring, adding outlets.
- Any waterproofing work in a shower or wet area: this requires a shower pan inspection before the tile goes on.
- Any change to the building envelope: new windows, new exterior doors, re-roofing, siding replacement.
Unpermitted work has a long tail in Los Angeles real estate. When you sell, the buyer’s title company may pull permit history. If the bathroom added in 2019 has no permit record, the sale can fall through, the buyer can demand a price reduction, or LADBS can require the work to be opened up for inspection before the title transfers. That inspection may pass; it may not. Either way, the seller eats the cost because the work was done without a permit.
For homeowners doing legitimate zero-risk and moderate-risk DIY, this isn’t a concern because painting, hardware, floating floors, and fixture swaps on existing connections don’t require permits. The line is clear: if you’re touching structure, waterproofing, or systems, the city wants to see it before it’s covered up.
The Real Cost Calculation: Tools, Time, and the Fix-It Tax
The “I’ll save money doing it myself” math usually ignores three costs. Here’s the honest version, using Los Angeles numbers.
Tool rental and purchase costs. A tile saw rents for $40 to $80 per day, and a shower tiling job takes a first-timer three to four days. A miter saw for trim work is $35 to $60 per day. A wet saw for flooring cuts is $60 per day. By the time you’ve rented the specialty tools for a moderate-risk project, you’ve spent $200 to $400 on equipment alone. For zero-risk painting, the math is better: $30 in brushes, rollers, and tape.
Your time at a real hourly rate. Los Angeles homeowners in the 28-to-45 demographic bill their time at $40 to $100 per hour depending on profession. A “weekend” bathroom project actually runs 30 to 50 hours of labor for a first-timer across three or four weekends. That’s $1,200 to $5,000 of your time, not counting the opportunity cost of the weekends you never got back.
The fix-it tax when something goes sideways. This is the line item no YouTube video includes. When a DIY moderate-risk project fails, you’re not just paying for the professional to do the job correctly. You’re paying for the professional to undo your work first, then do the job correctly. The undo labor is usually half to two-thirds of the total job cost. For a floating floor installed over an unmitigated moisture problem, the fix-it tax is $1,000 to $2,000 in tear-out and disposal before the new floor goes down.
Here’s the honest comparison for a 5×8 bathroom remodel in Los Angeles:
- Full DIY with tile shower: $4,000 to $7,000 in materials and tools, 60+ hours of your time, moderate probability of a $2,000+ fix within two years.
- Professional with a licensed contractor: $15,000 to $25,000, no tool rentals, no time cost, warranty on workmanship, insurance on the job.
The professional route looks more expensive on the invoice. The DIY route is often more expensive on the ledger.
The Remediation Question: What Failure Actually Costs
Before you start any renovation project, ask yourself one question: “If this fails, what does remediation cost?” This single question sorts projects more accurately than any skill assessment, because it forces you to look past the day-one appearance and toward the two-year failure mode.
Here’s the honest answer for the most common DIY-gone-wrong scenarios in Los Angeles, with real dollar ranges based on what we’ve seen on site visits:
- Failed shower waterproofing: $14,000 to $28,000 total, including the original DIY cost, tear-out, mold remediation, and professional rebuild. The failure appears 18 to 36 months after the shower looks finished.
- Floating floor buckling from moisture: $4,000 to $8,000 for a 400-square-foot room, including tear-out of the failed floor, subfloor repair if moisture got in, and new flooring. The failure appears within one season.
- Unpermitted wall removal caught during a sale: $3,000 to $10,000 to open the wall for inspection, install an engineered beam if required, and pass the re-inspection. The failure appears years later, at the worst possible moment.
- DIY electrical arc or circuit failure: $500 to $1,500 for the electrician’s visit if you’re lucky, six figures of uninsured damage if you’re not. The failure is immediate and dangerous.
- Leaking faucet connection that rots a cabinet base: $1,200 to $2,500 to replace the cabinet, the countertop section, and repaint the face frames. The failure appears slowly over six months.
These are not scare numbers. They’re the tax for skipping a professional on work where a professional’s expertise is the product. For zero-risk cosmetic work, the remediation cost is near zero, which is why that work is safe. For more guides & resources on spotting trouble early, see our blog. For waterproofing, structural work, and systems work, the remediation cost is multiples of the original job, which is why that work is not.
Common Mistakes to Avoid
- Watching a highlight reel and assuming the whole job is in the video. YouTube shows a 20-minute tile job. It doesn’t show the six hours of prep, the waterproofing layers, the cure time, or the two failed attempts the creator edited out.
- Skipping the moisture test on concrete slabs. In Los Angeles, many 1950s and 1960s slab homes have no vapor barrier under the slab. Tape a piece of plastic to the floor for 24 hours; if condensation forms underneath, you cannot install floating floors without mitigation.
- Assuming grout and caulk are waterproof. They are not. Grout is porous and caulk degrades. The only waterproof layer in a shower is the membrane or coating behind the tile, and it has to be continuous and correctly sloped.
- Not checking whether the work requires a permit before starting. Los Angeles permit records are public, and unpermitted work follows the property, not the homeowner. The buyer’s title search will find it.
- Forcing seized plumbing fittings. Older Los Angeles homes with galvanized supply lines have angle stops that seize over time. Force them and the pipe cracks inside the wall, turning a faucet swap into a wall-opening job.
- Underestimating the tool budget. Renting a tile saw, wet saw, and miter saw for a weekend adds up fast. If your savings calculation doesn’t include tool rental, your savings calculation is wrong.
See the difference
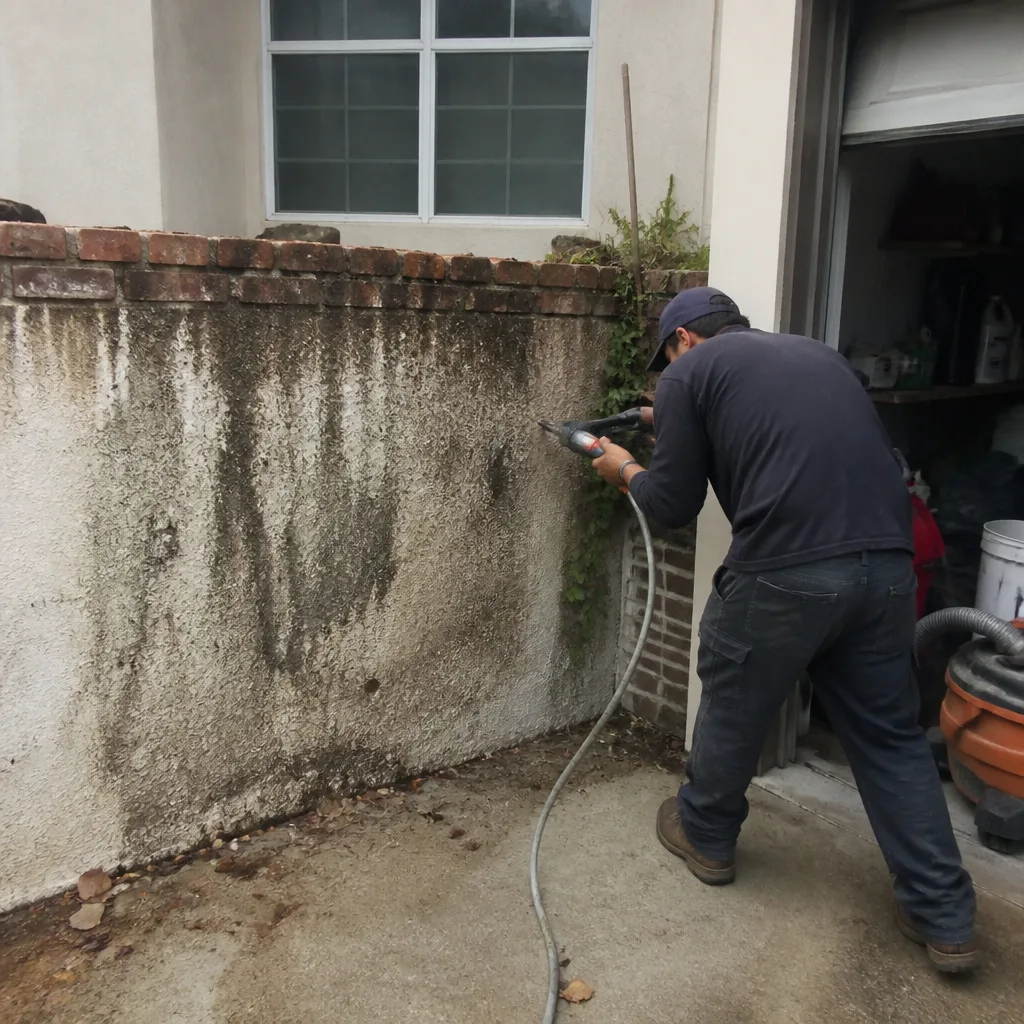 Before
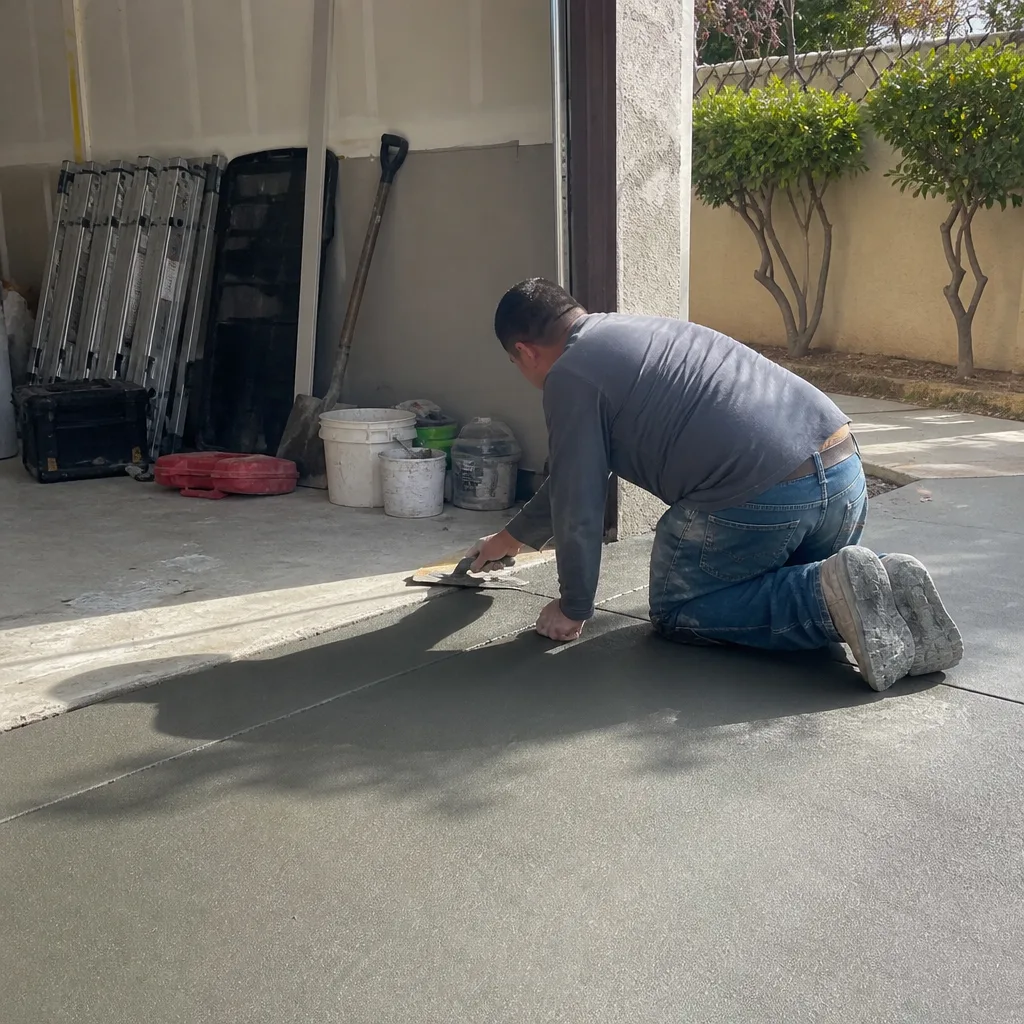 After
After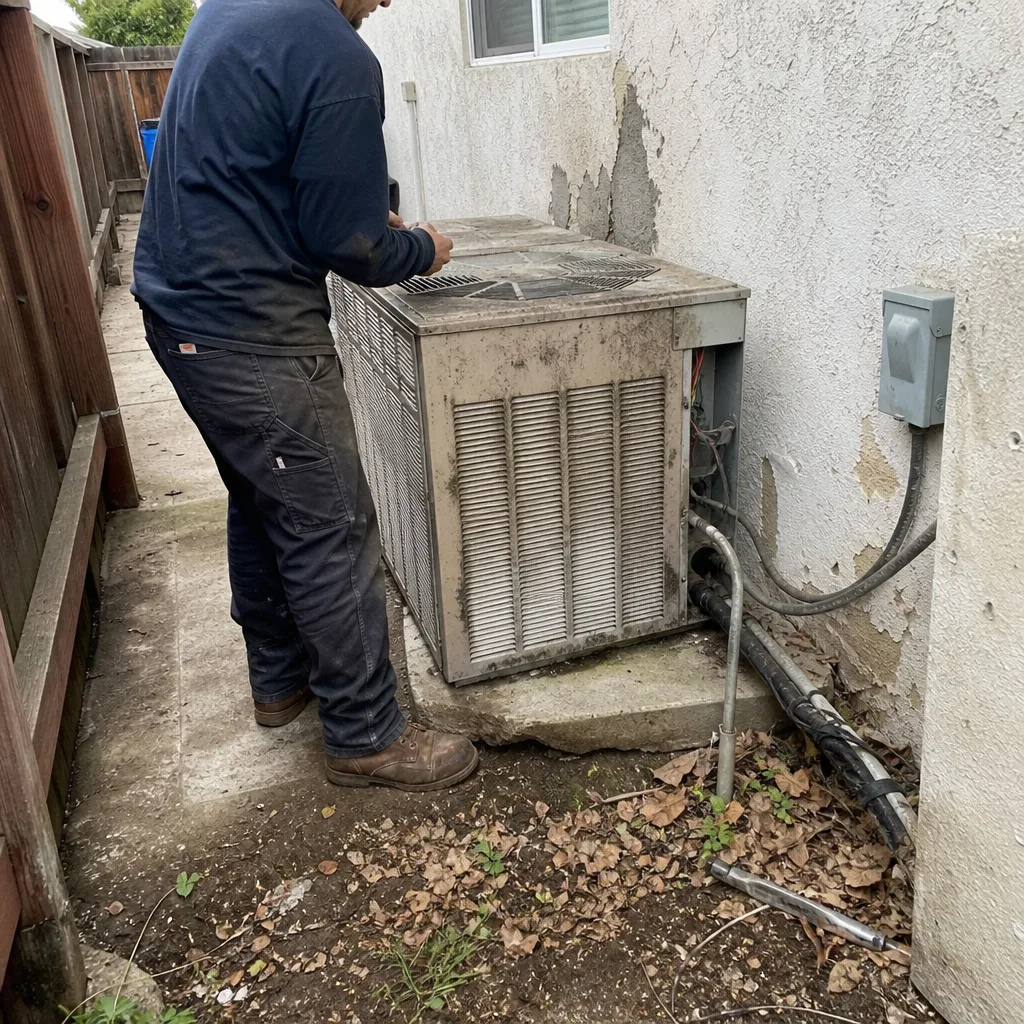 Before
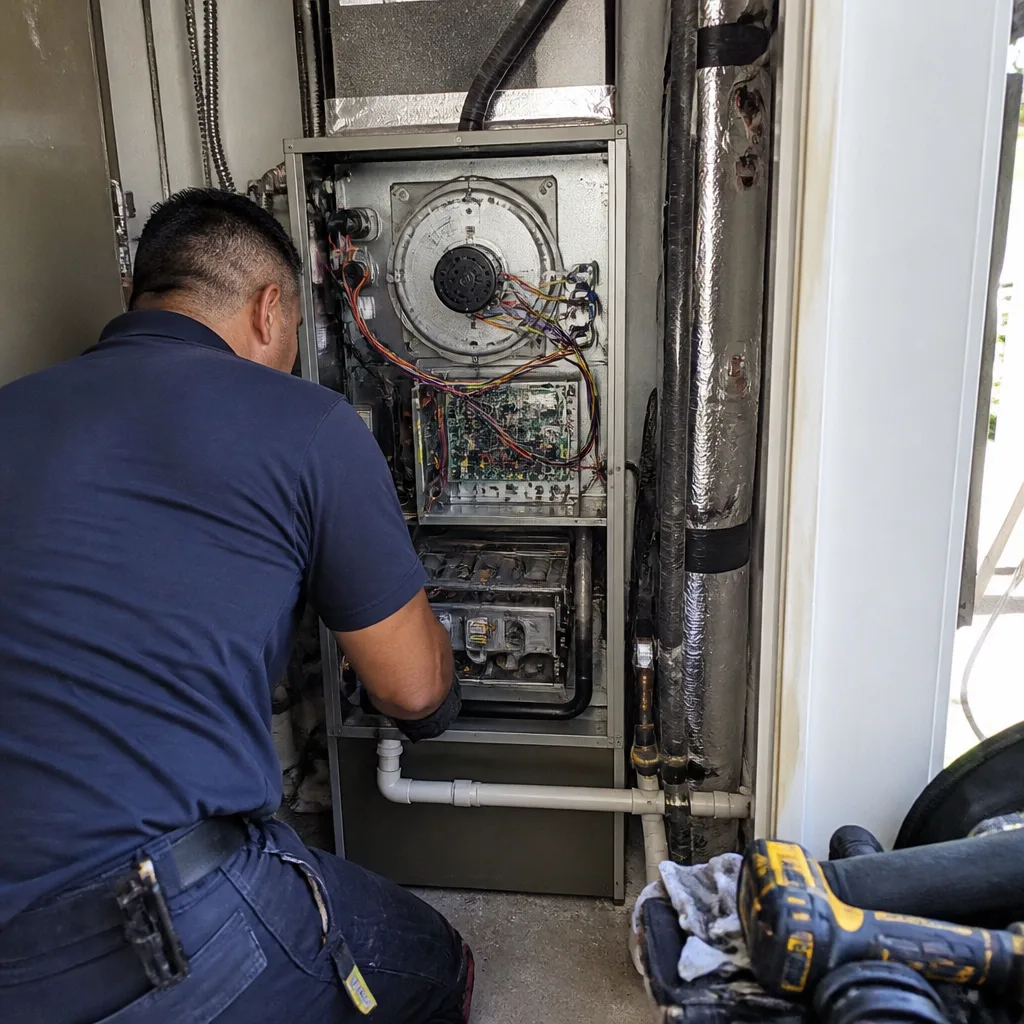 After
After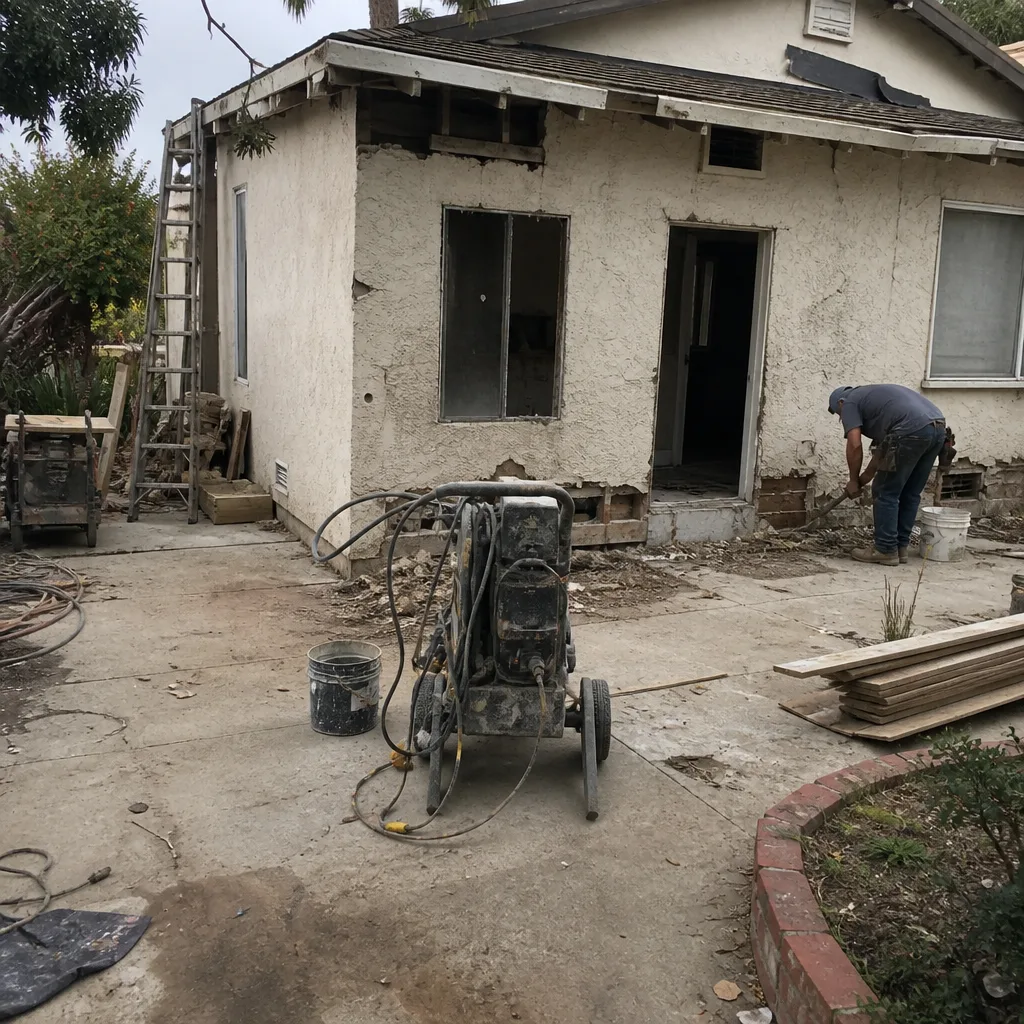 Before
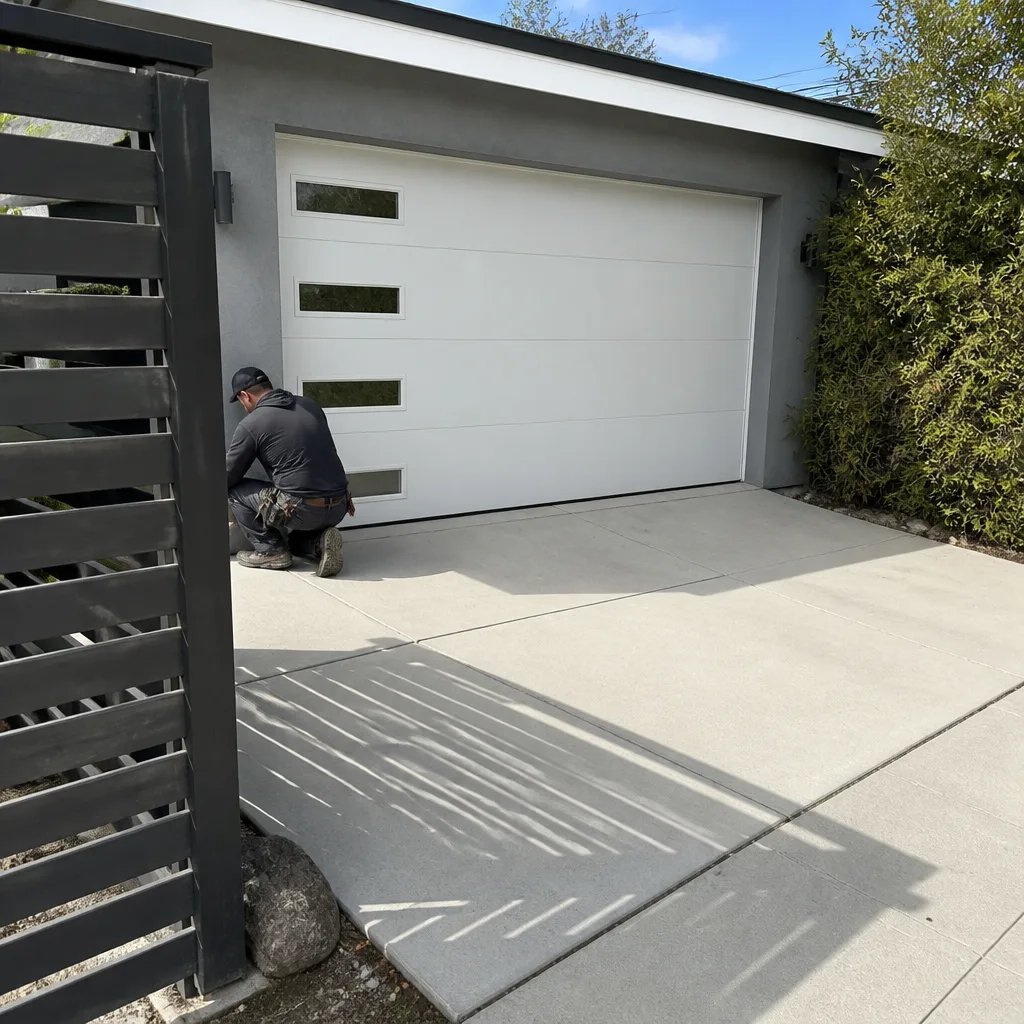 After
AfterWhen to Call a Professional
Call a professional when the failure mode is hidden, structural, tied to a permit, or costs more to remediate than the original job. That means any shower or wet-area waterproofing, any load-bearing wall change, any electrical work beyond a fixture swap on existing wiring, any plumbing beyond a faucet replacement, and any project where a permit inspection is required. If you’re planning a larger renovation in Los Angeles and want a written price before any work starts, Sawyer Remodeling offers free estimates. Every project includes a written price up front, live arrival time tracking, and before-and-after photo updates through The Relay Visibility Guarantee. Our 365-Day Done Right Promise means if the work isn’t done right, we make it right, in writing, on every project. Call (254) 272-5876 to schedule your free estimate.
Frequently Asked Questions
Painting, cabinet hardware replacement, light fixture swaps on existing junction boxes, trim and baseboard installation, and floating floor installation are all safe DIY projects for a careful homeowner with basic tools and time for research. The key is that none of these touch waterproofing, structural framing, plumbing drains, or electrical panels, and none require a permit in Los Angeles.
A failed DIY shower waterproofing job in Los Angeles typically costs between $14,000 and $28,000 to remediate when you factor in the original DIY materials, tear-out labor, mold remediation if the framing is affected, and a professional rebuild with proper waterproofing. That range makes the waterproofing category the single most expensive DIY mistake in residential renovation.
Paint, hardware, flooring, and fixture swaps on existing connections do not require a permit. Any structural change, plumbing beyond fixture replacement, electrical work beyond fixture swaps, shower waterproofing, or building envelope change does require a permit and inspection, and unpermitted work can stall a home sale or trigger forced removal.
Opening up a kitchen and living room is one of the most popular renovations in Los Angeles and can meaningfully improve how a home lives, but only if the wall is non-load-bearing or properly engineered with a permitted beam. A load-bearing wall removed without an engineered beam creates structural damage that costs tens of thousands to repair.
The most common mistake we see is treating grout and caulk as the waterproof layer in a shower. Tile and grout are finish materials, not waterproofing, and the actual waterproof layer behind them has to be continuous, correctly sloped, and inspected before tile goes on. When that layer fails, the damage stays hidden for up to three years and costs five to ten times the original DIY savings to fix.
Ask the remediation question: “If this fails, what does it cost to fix?” If the answer is a trip to the hardware store and another coat of paint, it’s safe. If the answer is opening walls, tearing out finished work, mold remediation, or a structural engineer, hire a licensed contractor. Sawyer Remodeling offers free estimates in Los Angeles; call (254) 272-5876 for an exact quote on any project.
The Bottom Line
The DIY question isn’t about whether you can learn to tile a shower or run a new circuit. It’s about what the failure costs when it happens, and whether that cost is cosmetic or structural. Paint boldly. Swap hardware confidently. Install floating floors with research and a moisture test. But leave waterproofing, load-bearing walls, plumbing drains, and electrical panels to a licensed professional, because those are the categories where the two-year failure costs more than the project ever saved. When you’re ready for professional work in Los Angeles, Bathroom Remodeling in Los Angeles and full-home renovations are where our written pricing, The Relay Visibility Guarantee, and the 365-Day Done Right Promise give you the thing DIY cannot: a clear number before work starts and a guaranteed fix if something isn’t right.
Written by Luca Romano, Owner at Sawyer Remodeling, serving Los Angeles since 2005.