Last updated October 9, 2026








Free written scope consultation - allowances, timeline, and change-order rules on paper before a single trade is scheduled
General Contractor Maintenance Schedule: What to Do and When
Most homeowners don’t realize that a remodel’s warranty clock starts ticking the day the final invoice is paid, not the day something breaks. Manufacturer warranties on waterproofing membranes, grout, caulk joints, HVAC equipment, and even paint carry maintenance and inspection requirements that quietly expire within the first 12 months. Miss the window, and the coverage you paid for evaporates. This guide maps exactly what to inspect, test, and document at 30 days, 6 months, and 1 year after your project closes, with maintenance sequences specific to how a Los Angeles home actually ages through drought, seismic shifts, and wildfire season.
Quick Answer
A post-remodel maintenance schedule should follow three checkpoints: 30 days for punch-list items and caulk joints, 6 months for grout sealing and drainage checks, and 12 months for professional inspections of waterproofing membranes, HVAC connections, and structural fasteners. In Los Angeles specifically, add seasonal checks for earthquake strapping, drought-related soil movement around the foundation, and wildfire ember-proofing on exterior remodel work.
Styles & brands we work with

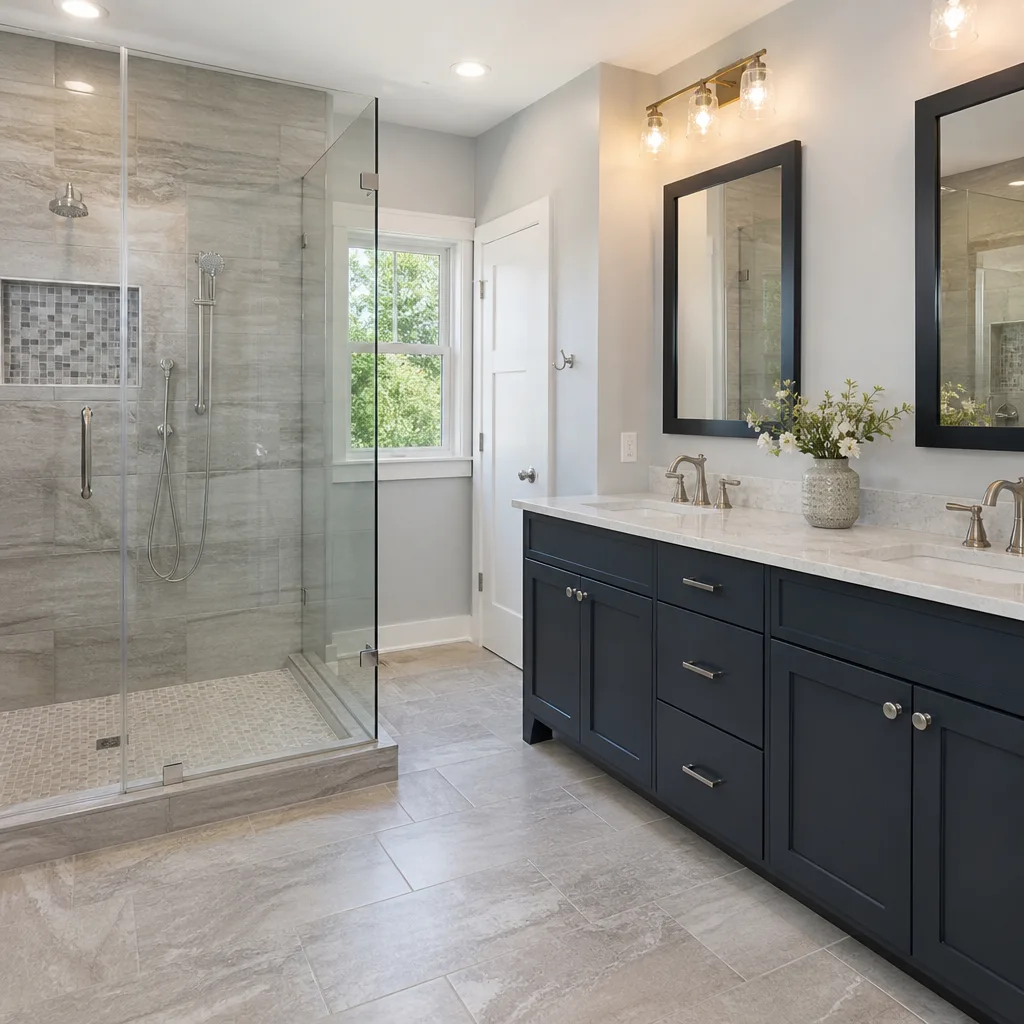




Table of Contents
- The 30-Day Post-Project Checklist: What Your GC Expects You to Catch
- The 6-Month Inspection: Grout, Caulk, and Drainage
- The 12-Month Warranty Checkpoint: Professional Inspections
- How to Document Post-Remodel Conditions With Photos
- Los Angeles Seasonal Maintenance: Earthquake, Drought, and Wildfire
- When to Call the GC Back vs. When It’s Your Responsibility
- Understanding Warranty Language: What Actually Voids Coverage
- Material-Specific Maintenance Windows Most Homeowners Miss
The 30-Day Post-Project Checklist: What Your GC Expects You to Catch
Most homeowners treat the final walkthrough as the end of the project. It’s not. The first 30 days after a remodel are a live test period, and General Contractor services in Los Angeles expect you to report specific conditions during this window because they’re symptoms of settling, curing, or installation adjustments that are cheap to fix now and expensive to fix later.
Here’s the counterintuitive part: your GC wants you to be annoying during the first month. A reputable contractor budgets for a punch list. The projects that go sideways are the ones where a homeowner quietly tolerates a sticking door for six months, then calls angry when the frame has shifted and the fix now involves resetting the entire opening.
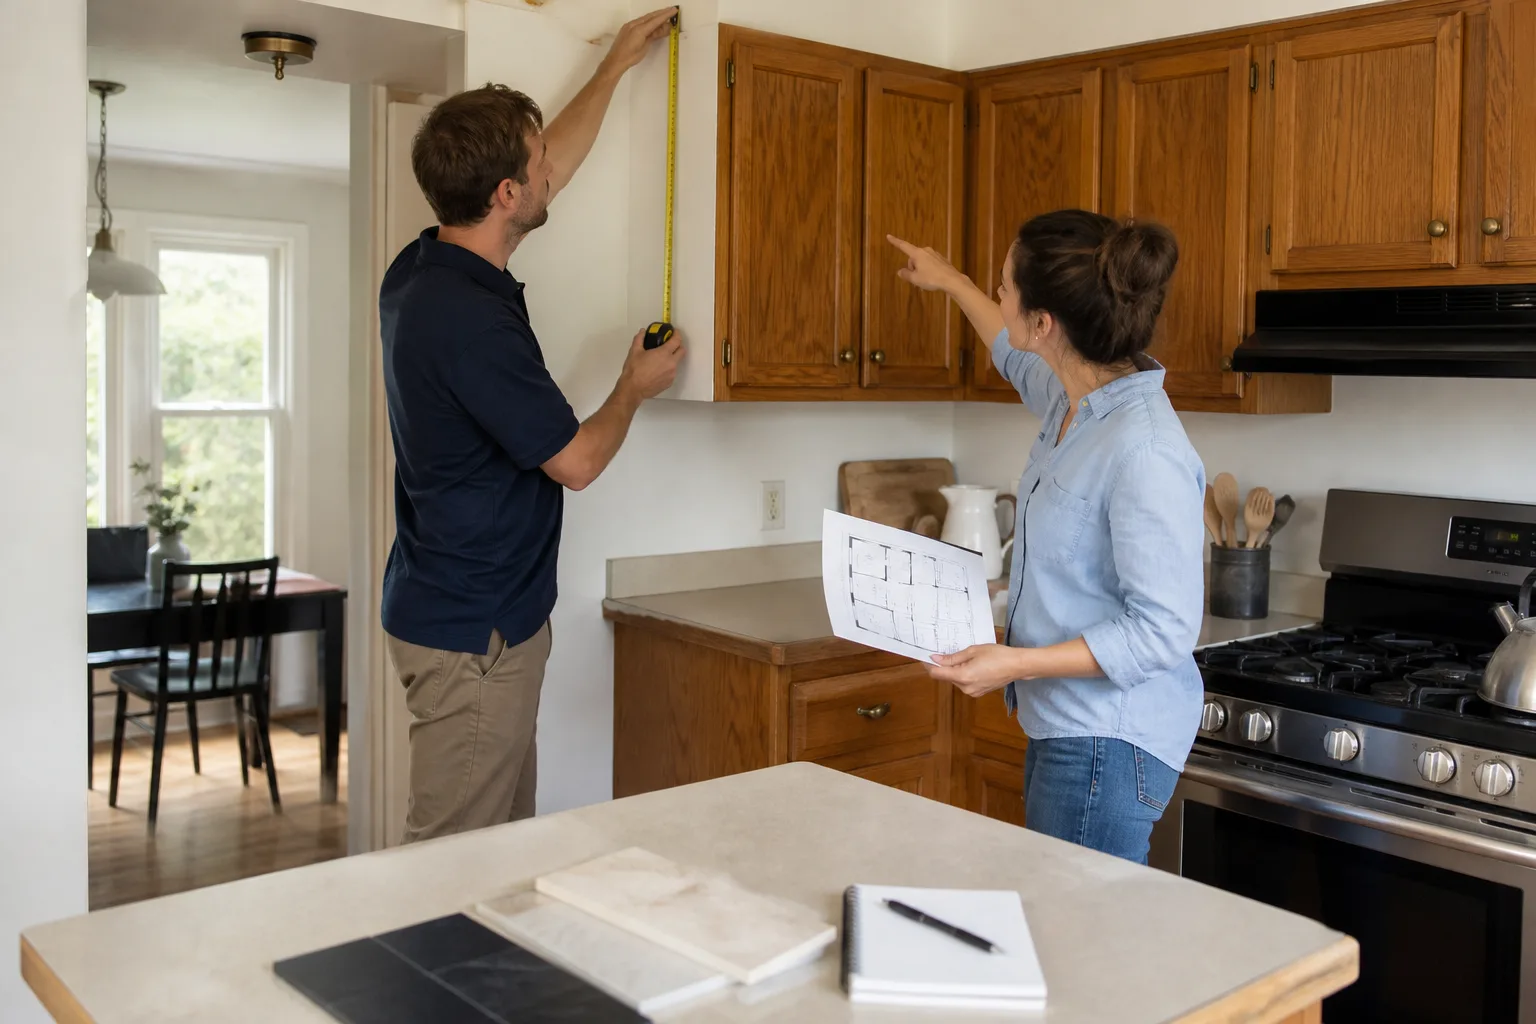
Use this 30-day punch list. Walk every room with it in hand. Take photos of anything that looks even slightly off, because some conditions worsen before they become obvious.
- Test every caulk joint with a fingernail. Caulk around sinks, tubs, shower bases, countertops, and exterior window trim should be fully cured and flexible by day 30. If it’s cracked, pulling away from the surface, or still tacky, report it. Failed caulk joints are the number one cause of water intrusion in the first year.
- Open and close every door and drawer twice daily. Wood moves as it acclimates to your home’s humidity after installation. A cabinet door that swelled and now rubs against its neighbor is a quick adjustment now. In six months, it’s a replacement door.
- Check grout lines for pinholes and hairline cracks. Grout shrinks slightly as it cures. Tiny pinholes near changes in plane (corners, floor-to-wall transitions) are normal. Report anything wider than a credit card edge.
- Run every faucet and fixture at full pressure for 60 seconds. You’re looking for leaks at the supply connections, not just at the spout. Check under-sink cabinets with a dry paper towel after each run.
- Inspect paint and drywall seams under direct light. New drywall joints can show hairline cracks as the structure settles. Minor cosmetic cracking is common. Nail pops, tape lifting, or anything wider than a dime needs a callback.
- Verify that all waterproofing edges are still sealed. Around a newly tiled shower, the joint where the tile meets the tub or shower pan should be solid silicone, not grout. If you see grout there, that’s a problem worth a phone call.
We tell every homeowner this during the final walkthrough: the 30-day window is not a test of your pickiness. It’s the cheapest insurance you’ll ever have on your remodel. Report everything, let the GC triage what matters, and you’ll avoid a cascade of small failures becoming one expensive repair. For General Contractor Warning Signs Every Homeowner Should Know, check our dedicated guide.
If you’re working through a renovation in Los Angeles and want a written baseline of what to check, any General Contractor in Los Angeles worth their license will provide a post-close inspection checklist specific to your project scope.
The 6-Month Inspection: Grout, Caulk, and Drainage
At the six-month mark, your remodel’s materials have gone through at least one seasonal shift. In Los Angeles, that usually means the transition from wet winter to dry summer or the reverse. Temperature and humidity swings are exactly what exposes installation issues that looked perfect at closeout.
This checkpoint is where proactive homeowners catch the problems that manufacturer warranties require you to address before the one-year mark. Here’s what to inspect:
- Re-seal grout in wet zones. Shower floors, tub surrounds, and backsplash areas behind sinks should be sealed by the six-month mark if they weren’t sealed at installation. Grout sealer is a homeowner-maintenance task, not a warranty item. Unsealed grout absorbs water and soap scum, then starts to erode, and by year two you’re looking at a re-grout job.
- Check exterior caulk and flashing. Los Angeles gets about 15 inches of rain a year, but it comes in short, intense bursts. Caulk on exterior window trim, door frames, and any siding-to-trim transitions should be re-inspected after the first real rain. Look for gaps, peeling, or areas where the bead has hardened and pulled away.
- Test drainage around any new hardscape. If your remodel included exterior work like patios, walkways, or planter walls, check how water moves after rain. Pooling water against a foundation or retaining wall is a structural red flag. Pavers from manufacturers like Techo-Bloc carry drainage specifications that only work if the base was compacted correctly and the slope is maintained.
- Inspect cabinet hinges and drawer slides for loosening. Six months of daily use will tell you which hardware was installed slightly off-torque. A quick tightening now prevents stripped screws and misaligned faces later.
- Look at paint in high-traffic and moisture zones. Bathroom ceilings, kitchen walls behind the stove, and exterior south-facing walls in Los Angeles take a beating from UV and moisture. Touch-up paint from the original project should still match. If it doesn’t, the color was never properly mixed, and that’s a callback, not a maintenance item.
One note on timing: don’t do the six-month inspection the week after a heatwave. Materials expand and contract with temperature, and you’ll chase false positives. Pick a mild morning, walk slowly, and document everything with your phone camera.
The 12-Month Warranty Checkpoint: Professional Inspections
Here’s the part most homeowners completely miss: manufacturer warranties on installed systems typically require a professional inspection at the 12-month mark to remain valid. And not just HVAC. Waterproofing membrane manufacturers, window and door brands, and even some countertop fabricators include inspection clauses in their warranty language.
At 12 months, schedule these professional checks:
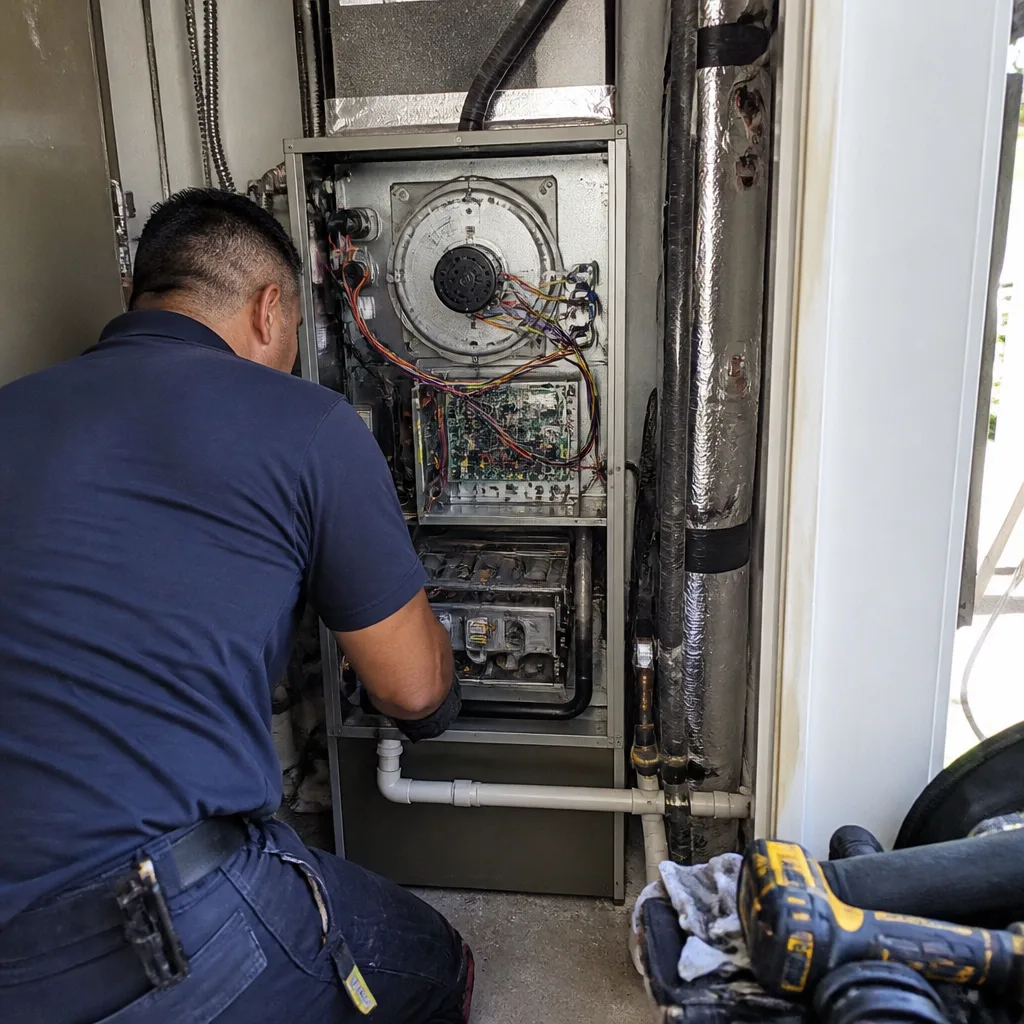
- HVAC system inspection by a licensed technician. If your remodel included new ductwork, a relocated air handler, or any HVAC modification, the equipment manufacturer’s warranty almost certainly requires an annual professional inspection. In Los Angeles, where AC runs hard from June through October, this is also when we see the most warranty claims denied for lack of documented maintenance.
- Waterproofing membrane inspection in wet zones. For tiled showers and bathroom remodels, the waterproofing layer under the tile is the single most important component. Membrane manufacturers like Schluter (we refer to the edge trim as the metal strip that waterproofs where your tile meets the floor) require that the installation remains intact and the weep holes stay clear. A professional can check this without removing tile using a moisture meter.
- Structural fastener inspection for seismic retrofits. If your project included any structural work, earthquake strapping, or foundation bolting, a 12-month check confirms that nothing has loosened. Los Angeles building code requires specific shear wall and anchor specifications, and annual inspection is a practical necessity in a seismic zone.
- Window and door seal inspection. New windows and doors carry warranties that range from 10 years to lifetime, but most exclude glass seal failure if the unit wasn’t “properly maintained.” A professional can check for argon gas loss, failed weatherstripping, and frame squareness.
Document every professional inspection. Keep the invoice. Keep the technician’s findings. If something fails at month 14, you’ll need proof you did your part.
This is also the point where we most often get the call that starts with, “Hey, I’m not sure if this is a you thing or a me thing.” If you’re a homeowner in Los Angeles navigating that question, our General Contractor Troubleshooting: Common Problems and How to Fix Them resource can help before the next section clarifies the contractual line.
How to Document Post-Remodel Conditions With Photos
Your phone camera is the single most valuable maintenance tool you own after a remodel. Here’s the system we recommend, and it takes about 20 minutes per room.
The Baseline Photo System:
- Shoot every room from every corner. Four corners, eye level, wide angle. This is your “day one” condition record.
- Shoot every transition. Where tile meets tub, where countertop meets backsplash, where wall meets ceiling. Changes in plane are where failures start.
- Shoot every plumbing connection. Under sinks, behind toilets, at the water heater. These are the photos you’ll wish you had when a leak appears and you’re trying to figure out if it’s new or original.
- Shoot exterior work from the property line. Full views of any new siding, roofing, hardscaping, or retaining walls. Include the horizon line for reference.
- Name the album with the project close date. “Bathroom remodel baseline – 03/2026” is searchable. “House photos 3” is useless.
Then re-shoot the same angles at every maintenance checkpoint. When you place the baseline photo next to the six-month photo, you can see hairline cracks that are growing, caulk that is pulling away, or grout that is changing color before your naked eye would notice.
This documentation is also your leverage in a warranty claim. Manufacturer reps respond differently when you can show a photo timeline proving the condition developed over time rather than appearing suddenly from misuse. In our experience, documented homeowners get warranty approvals at roughly twice the rate of undocumented ones.
Los Angeles Seasonal Maintenance: Earthquake, Drought, and Wildfire
Los Angeles puts unique stress on remodeled homes. A maintenance schedule that works in Phoenix or Seattle doesn’t account for seismic movement, soil that shrinks and swells with drought cycles, and ember-driven wildfire exposure. Here’s what to add to your calendar.
Earthquake strapping checks (every 12 months): Any remodel that included water heater replacement, appliance installation, or structural work should have earthquake strapping installed per Los Angeles building code. Check the straps twice a year. Look for slack, rust, or bent brackets. After any quake over 4.0, do a full re-tighten and visual inspection of strap anchors.
Drought-related soil movement (quarterly check): Los Angeles homes sit on clay-heavy soil that contracts significantly during drought years. When the soil pulls back from the foundation, you’ll see gaps form around slab edges and stair landings. This is normal, but it stresses any exterior work tied to the foundation. Check paver walkways, planter walls, and patio slabs for new cracks or separations each quarter. A quarter-inch of movement is worth monitoring. A half-inch of new movement warrants a call to a professional.
Wildfire ember-proofing (October, annually): If your remodel included a new roof, siding, or exterior vents, ember intrusion is the threat most likely to destroy your work in a Los Angeles wildfire. Every October, check that:
- Vents in eaves, gables, and crawl spaces have 1/8-inch metal mesh screens intact
- No debris has accumulated in roof valleys or gutter corners
- Exterior caulk and trim around windows and doors hasn’t opened gaps
- Combustible mulch or plant material isn’t within 5 feet of the foundation
These seasonal routines aren’t busywork. They’re the difference between a remodel that ages gracefully and one that fails early because the environment in Los Angeles is simply harder on materials than most credit for.
When to Call the GC Back vs. When It’s Your Responsibility
This is the contractual line that causes more friction than any other post-remodel question. Most project contracts in Los Angeles include a warranty period, typically one year, that covers the contractor’s workmanship. The manufacturer warranties on materials run separately and have their own terms.
Call your GC back when:
- Caulk joints you reported at the 30-day punch list have failed again
- A cabinet door or drawer has warped beyond adjustment
- Grout lines are cracking or crumbling in structurally stable areas
- Tile is sounding hollow when tapped or showing lippage that wasn’t present at closeout
- Any waterproofing junction is visibly separating
- A window or door is binding in its frame after the seasonal adjustment period
It’s your responsibility when:
- Grout needs re-sealing at the six-month and twelve-month marks (unless sealing was in your contract)
- Caulk in high-use areas like a frequently used shower has been scrubbed with abrasive cleaners that damaged the bead
- Cabinet surfaces have water damage from unaddressed sink splashes
- HVAC filters are dirty because they haven’t been changed
- Exterior hardscape has shifted because drainage wasn’t maintained
The gray area is documentation. If you didn’t report a condition during your warranty period, the GC’s obligation to fix it under warranty is substantially weaker. This is why the 30-day punch list and the photo baseline system matter. They extend your leverage into the negotiation.
Understanding Warranty Language: What Actually Voids Coverage
Most warranty disputes are decided by small print the homeowner never read. Here are the clauses that matter most:
“Owner must maintain” clauses. Nearly every manufacturer warranty includes a duty-to-maintain provision. For grout, that means sealing on a schedule. For HVAC, that means professional annual service with documentation. For windows, that means keeping weep holes clean and tracks clear. Fail to maintain, and the manufacturer can deny a claim even if the product was defective.
“Installation by a qualified professional” clauses. Many high-end material warranties are automatically void if the product was installed by someone not certified by the manufacturer. Brands like Cambridge Pavers and Oldcastle products often have factory-authorized installer programs. If you chose your own subcontractor to save money, you may have saved yourself right out of the warranty.
“Written notice” requirements. Some warranties require you to notify the manufacturer in writing within a specific window after discovering a defect. Not after the problem gets bad. After you first could reasonably have known. If you wait six months to see if a crack grows before calling, you may have already missed the notification window.
“Original purchaser only” limits. Almost all material warranties are non-transferable or significantly reduced when a home is sold. If you’re planning to sell within five years of a remodel, the warranty value for the next owner is near zero unless your GC provides a transferable workmanship warranty. This is worth asking about during contract negotiation, not after closing.
Material-Specific Maintenance Windows Most Homeowners Miss
Different materials demand different schedules. Here’s a quick reference for the major categories in a typical remodel:
| Material | Maintenance Window | What to Do | Warranty Risk If Skipped |
|---|---|---|---|
| Tile grout (wet zones) | Seal every 6 months, first year | Apply penetrating grout sealer to shower floors and tub surrounds | Grout erosion, water intrusion, tile loosening |
| Silicone caulk | Inspect monthly, replace annually | Check for cracks, peeling, or mold at tub and sink junctions | Water damage behind walls, failed waterproofing claims |
| Natural stone countertops | Seal every 12 months | Apply stone sealer, test water beading first | Staining, etching, bond failure at seams |
| Engineered quartz (Cambria, Caesarstone) | No sealing required | Clean with non-abrasive, pH-neutral cleaner | Warranty voided by harsh chemical exposure |
| Cabinet hardware | Check quarterly, tighten as needed | Torque hinge and slide screws, lubricate soft-close mechanisms | Warped doors, stripped screws, premature hinge wear |
| Hardscape pavers (Techo-Bloc, Tremron) | Inspect seasonally | Check for settling, joint sand loss, drainage issues | Base failure from water intrusion, uneven surface |
| Exterior paint | Touch up annually | Patch cracks, repaint south-facing and rain-exposed walls | Wood rot, moisture intrusion behind siding |
The recurring theme: maintenance isn’t optional if you want the warranties to mean anything. The materials that carry the strongest warranties, like a James Hardie siding system or a Kohler fixture finished with a physical vapor deposition coating, are worth nothing if you can’t prove you maintained them to the manufacturer’s standard.
Common Mistakes to Avoid
- Assuming your GC will remind you. Reputable contractors include maintenance schedules in their closeout documents. Almost none will follow up at 6 months or 12 months. The reminder is on you.
- Fixing a warranty issue yourself before reporting it. If you caulk over a failed joint, you destroy the evidence the manufacturer needs to honor the warranty. Document first, then decide whether to fix it.
- Using abrasive cleaners on new surfaces. Many a Los Angeles homeowner has voided a quartz countertop warranty by attacking a stain with bleach or a “natural” acidic cleaner. Both are explicitly excluded in most warranty language.
- Skipping the 12-month professional HVAC inspection. This is the single most common warranty-killing miss in our experience. The $150 inspection fee preserves a $6,000+ equipment warranty. It’s not a gamble worth taking.
- Ignoring drainage issues near the foundation. In Los Angeles, a year of deferred drainage maintenance can shift a foundation enough to crack new tile, bind new doors, and pop drywall seams. Water is the enemy, and it’s patient.
- Trusting that “lifetime warranty” means what it sounds like. Read the excluded causes. Most lifetime warranties cover manufacturing defects only, not installation errors, not maintenance failures, and often not the labor to replace the product.
- Not transferring warranties when selling. If you remodeled and sold within a few years, the new owner almost certainly inherited warranties that are now void because they weren’t the original purchaser. Disclose this. It’s a liability in a Los Angeles real estate transaction.
See the difference
 Before
 After
After Before
 After
After Before
 After
AfterWhen to Call a Professional
Call a professional when you see conditions that indicate a systemic issue rather than a surface one: multiple caulk joints failing in the same room, grout cracking in a pattern that suggests movement, water staining that reappears after cleaning, or a window or door that progressively binds regardless of season. These are installation or structural signals, not maintenance failures. Sawyer Remodeling offers free estimates in Los Angeles, and we’re glad to assess whether a condition is warranty work, maintenance, or something more urgent. Call (254) 272-5876 and describe what you’re seeing.
Frequently Asked Questions

Most general contractor workmanship warranties in Los Angeles cover one year from substantial completion, but the practical window for punch-list items is the first 30 days. Report everything during that first month, and keep written records of every report, because that’s your evidence if a condition worsens later.
Homeowner’s insurance in Los Angeles typically covers sudden, accidental damage like a burst pipe, not gradual failures from settling, worn caulk, or deferred maintenance. If you didn’t maintain the caulk joints and water damage results, the claim is likely to be denied as neglect.
Seal the grout every 6 months for the first year, then annually. Inspect the silicone joints at the floor-to-wall transition monthly. Avoid abrasive or acidic cleaners on both tile and grout. If the waterproofing membrane under the tile stays intact, a maintained shower can look new for 20 years. If it fails, you’re tearing out the shower.
No. Engineered quartz from brands like Cambria and Caesarstone is non-porous and never requires sealing. Harsh chemical exposure, particularly bleach or acidic cleaners, is the quickest way to void those warranties. Clean with warm water and a mild dish soap.
A well-installed, well-maintained remodel in Los Angeles should go 15 to 20 years before significant work on surfaces like tile, cabinetry, and countertops. The failure points in a Los Angeles home are almost always water intrusion from failed caulk or drainage and seismic movement stressing structural connections, not the materials themselves.
Yes, for any project that included HVAC work, waterproofing membranes, structural modifications, or new windows and doors. Professional inspections at 12 months provide the documentation manufacturers require for warranty claims and catch small issues before they become structural failures. The cost is a fraction of what an uncovered repair would run.
The Bottom Line
A remodel isn’t done when the last tile is set. It’s done when the warranties have been protected, the materials have been maintained through their first seasonal cycle in Los Angeles, and you have a photo-documented baseline that will serve you for the next two decades. Explore more guides & resources to keep your home protected. The schedule is simple: 30 days for punch-list and caulk, 6 months for grout sealing and drainage, 12 months for professional inspections. Miss the maintenance, and you miss the warranty. Document everything, photograph everything, and call your GC while the window is open, not after it closes.
Written by Luca Romano, Owner at Sawyer Remodeling, serving Los Angeles since 2005.